Well this recipe is a little adaptation to the traditional Fraisier. The Fraisier is traditionally a layered cake with Genoese Sponge, strawberries, Creme Mousseline, another layer of Genoese Sponge and icing. However, seeing as we are in Reims the home of Champagne, it would be remiss of me not to try to add a little fizz to the Fraisier, would it not?
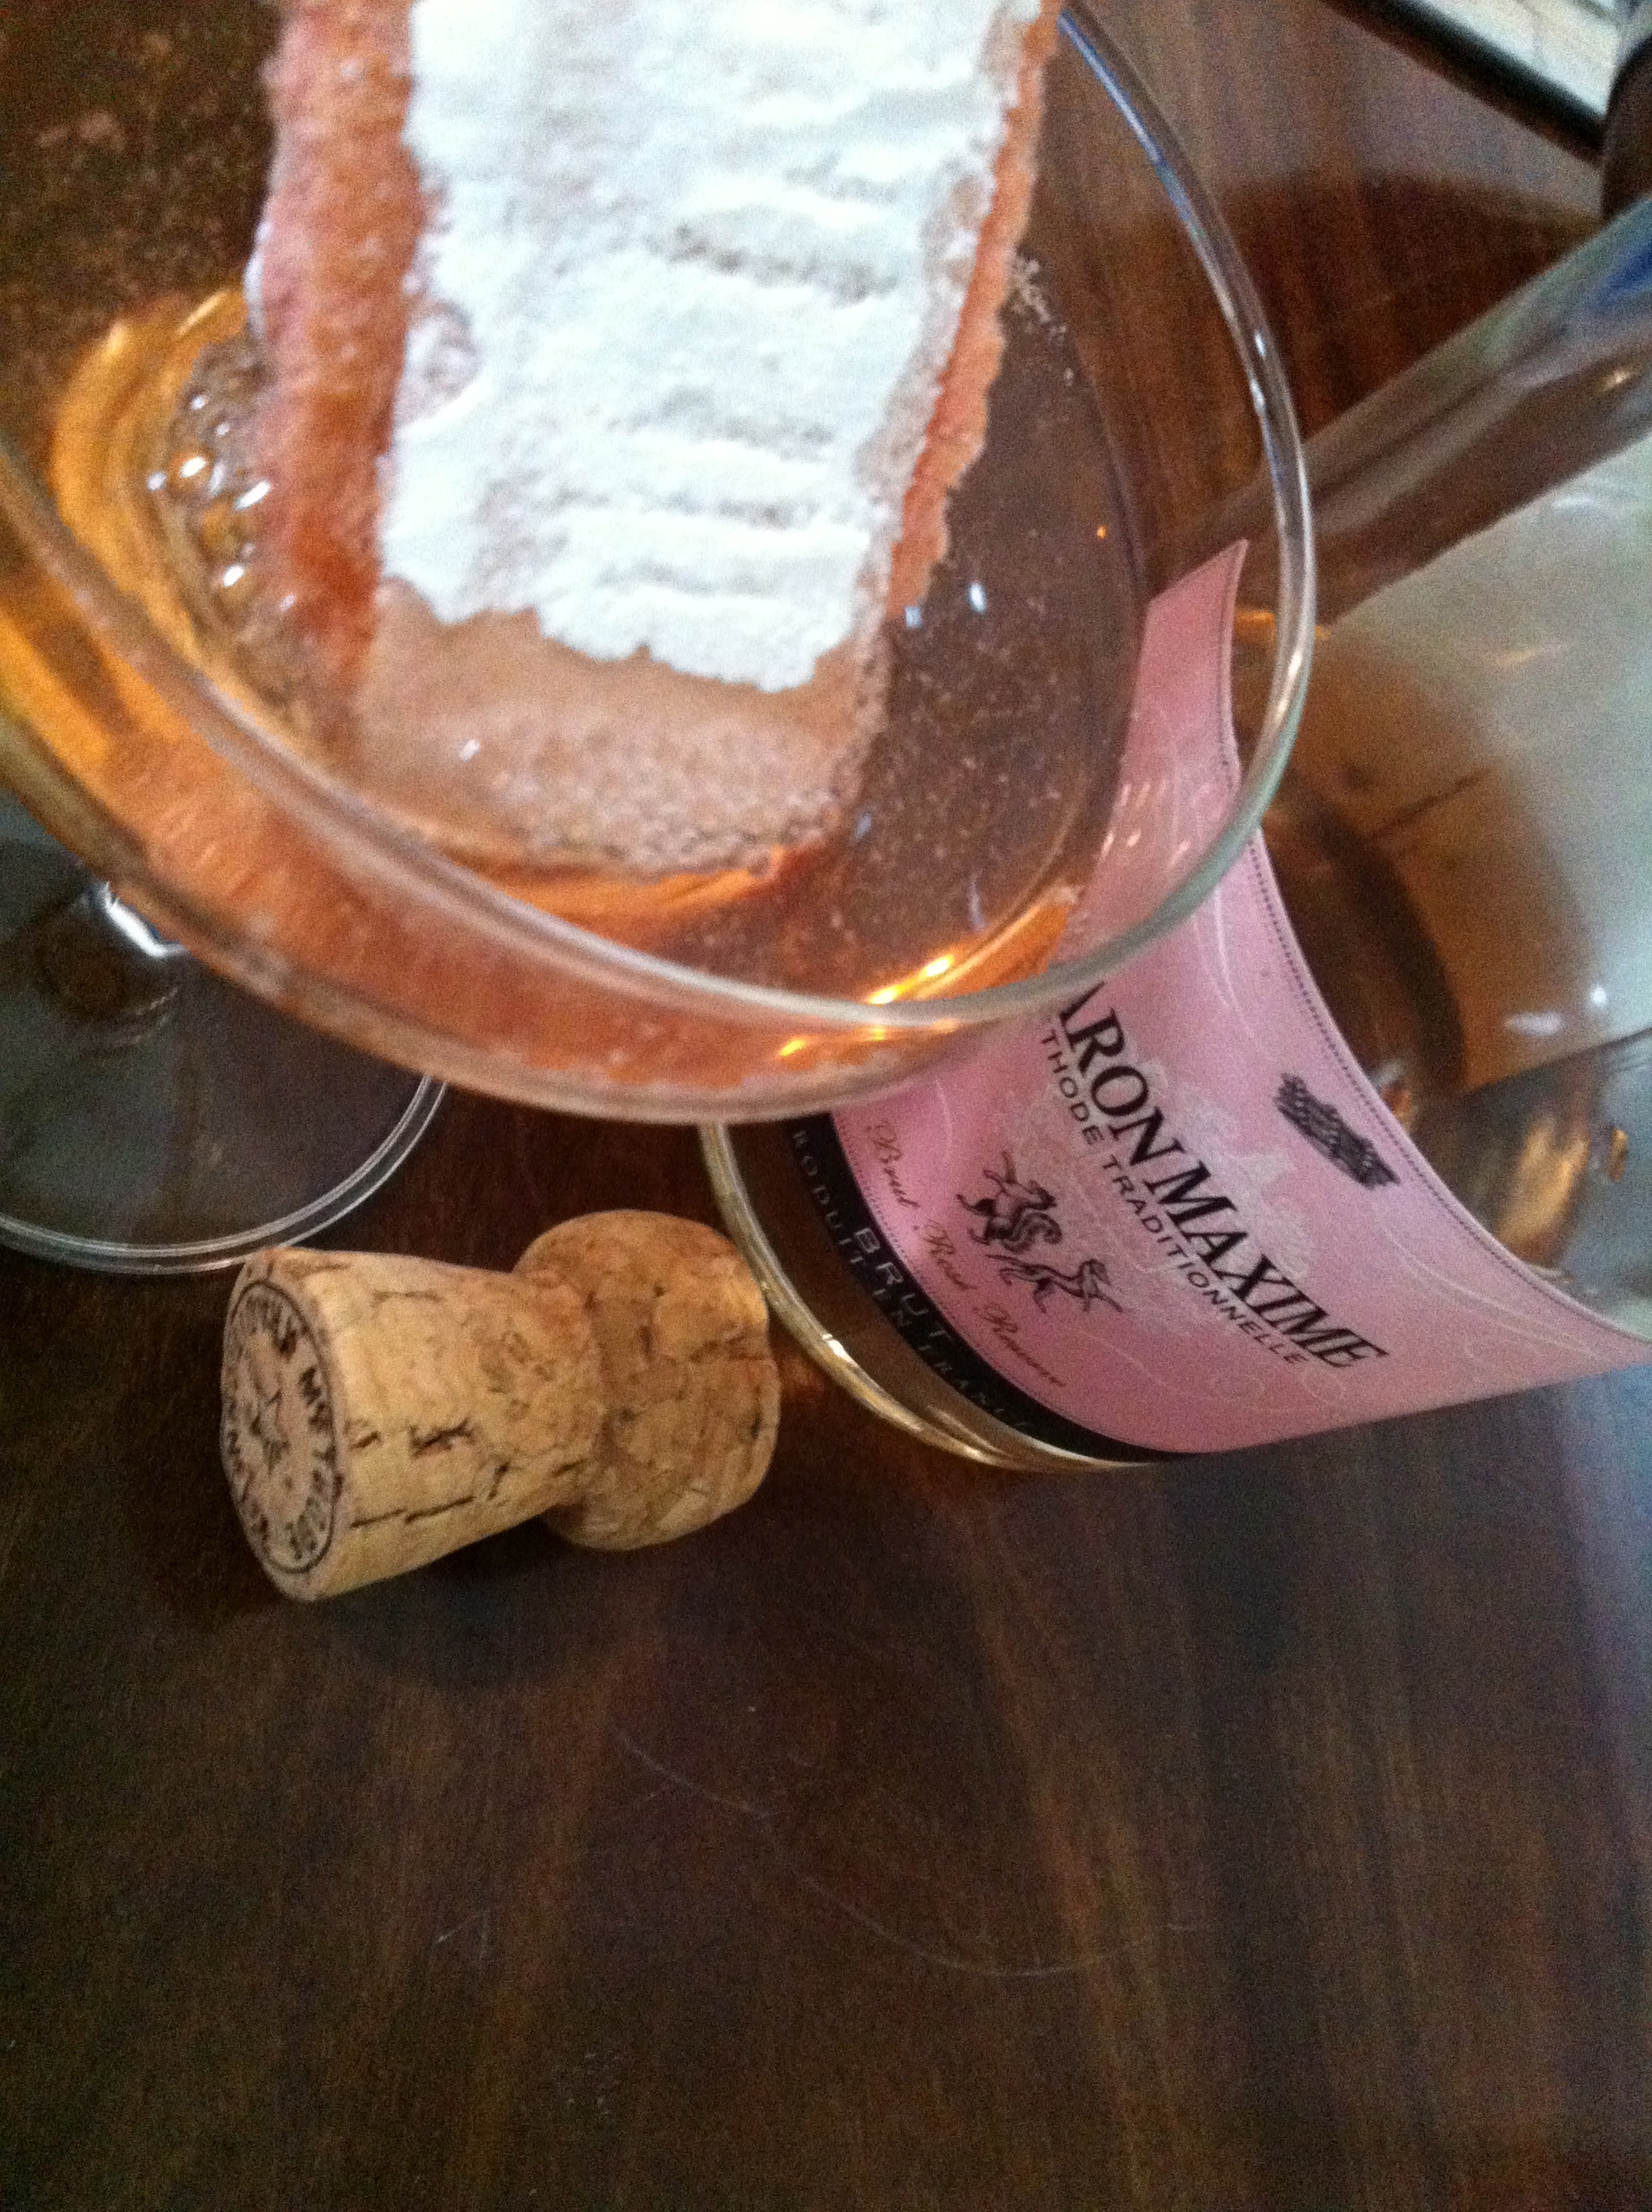
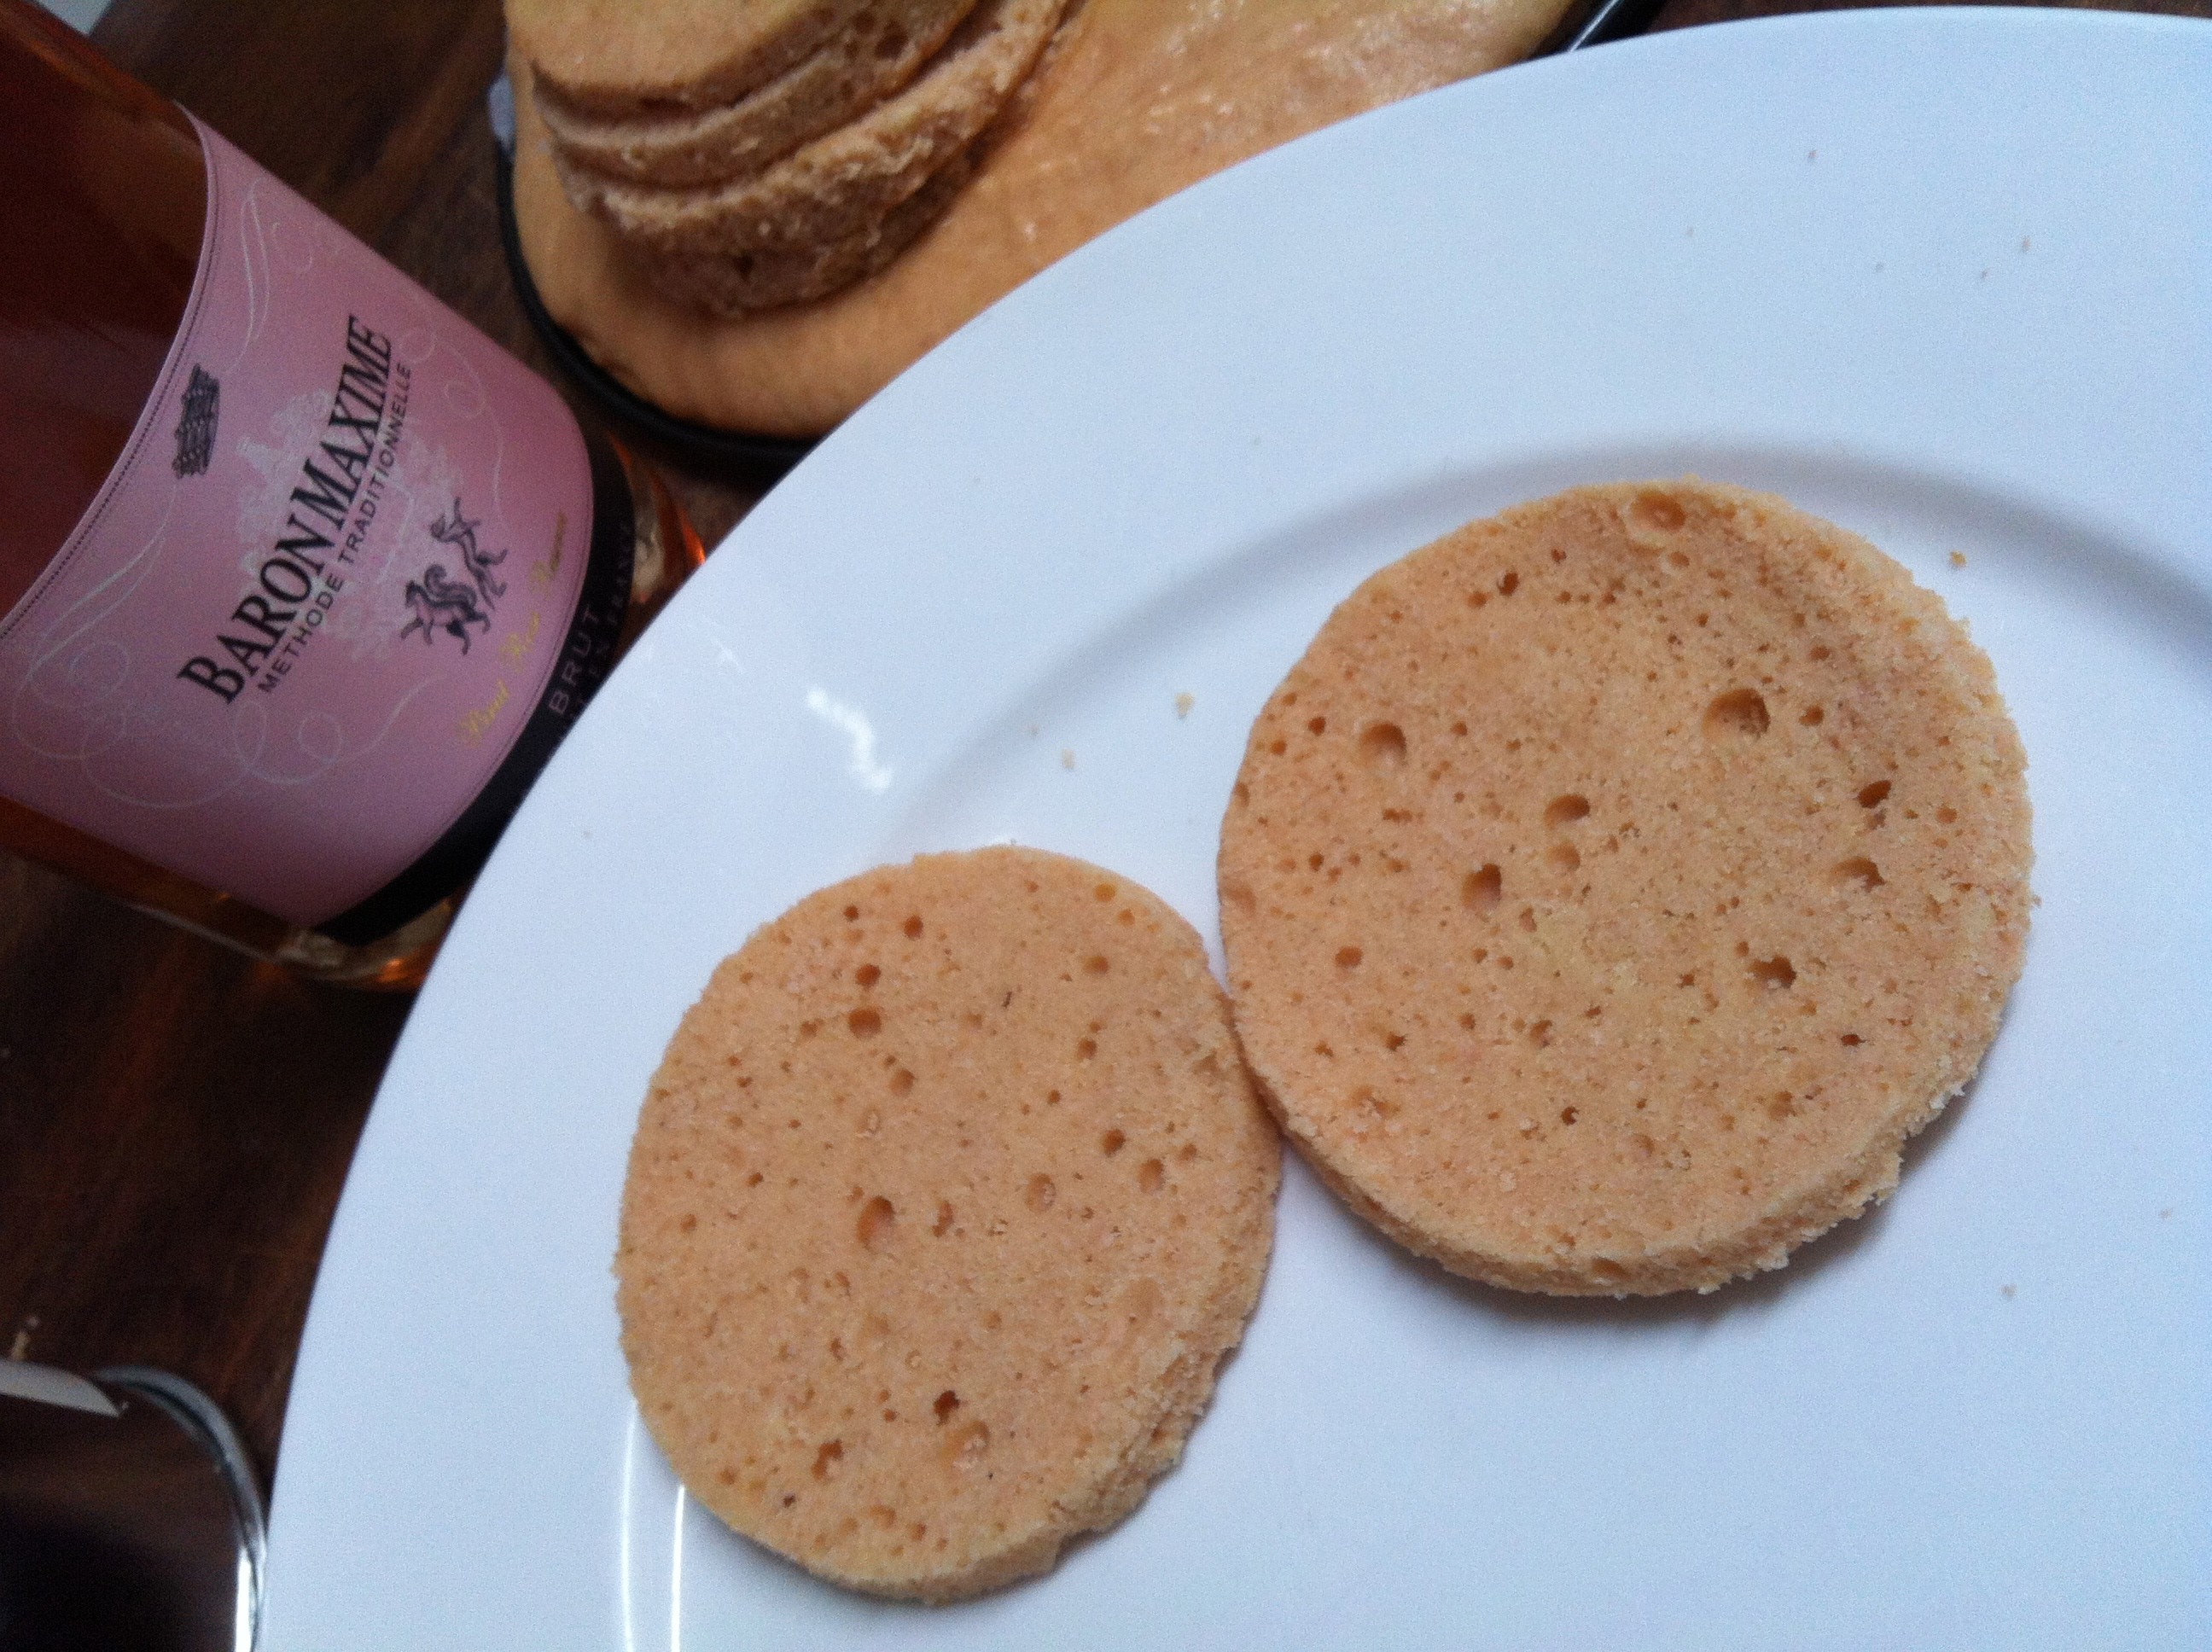
As it turns out, Reims is also the home of the Fossier Roses de Reims biscuit and yes, yet another secret recipe! This recipe dates back to 1690 when bakers in Reims sought to make the most of the heat in the oven in between backing batches of bread. Thus, the biscuits are twice baked (bis-cuit in French) and although originally white, ended up being coloured pink with cochineal in an effort to disguise the black spots of the vanilla bean.
The biscuits are light, sugar dusted, rose hued bastions of sweetness. Somewhat surprisingly the traditional way of eating them is to dunk them in … yes, you guessed it … Champagne! The double baking results in a biscuit that is light and crisp (you might even say hard) and most importantly one that can hold its own when dunked into a glass of your finest Pommery! It’s very de rigueur, all the cool kids have done it, including King Charles X, Leopold II of Belgium, the Russian Tsar and the Marquise de Polignac. Oh, and me! I just had to give it a go!
This recipe is based on this one from the Maison de Fossier website. The Creme Mousseline recipe is by the Roux brothers, and I thank the BBC for the Champagne Jelly directions!
Ingredients
For the Roses de Reims ‘Sponge’:
- 125g plain flour
- 100g powder of Roses de Reims Bicuits (You can buy this, but I could not source this specifically, so just blitzed 100g of the biscuits themselves)
- 80g caster sugar
- 10g of butter, melted
- 4 eggs
For the Creme Moussiline:
- 4 whole eggs
- 2 egg yolks
- 40g flour (I just realised I totally forgot to add this, no wonder it split!)
- 500ml milk
- 250g unsalted butter at room temperature
- Seeds of a vanilla bean or vanilla extract
For the Champagne Jelly*
- 500ml Pink Champagne
- 300ml water
- 1/4 cup of caster sugar
- 4 gelatine leaves
*Please note that as the Champagne is not boiled, it retains its alcohol content.
How to do it
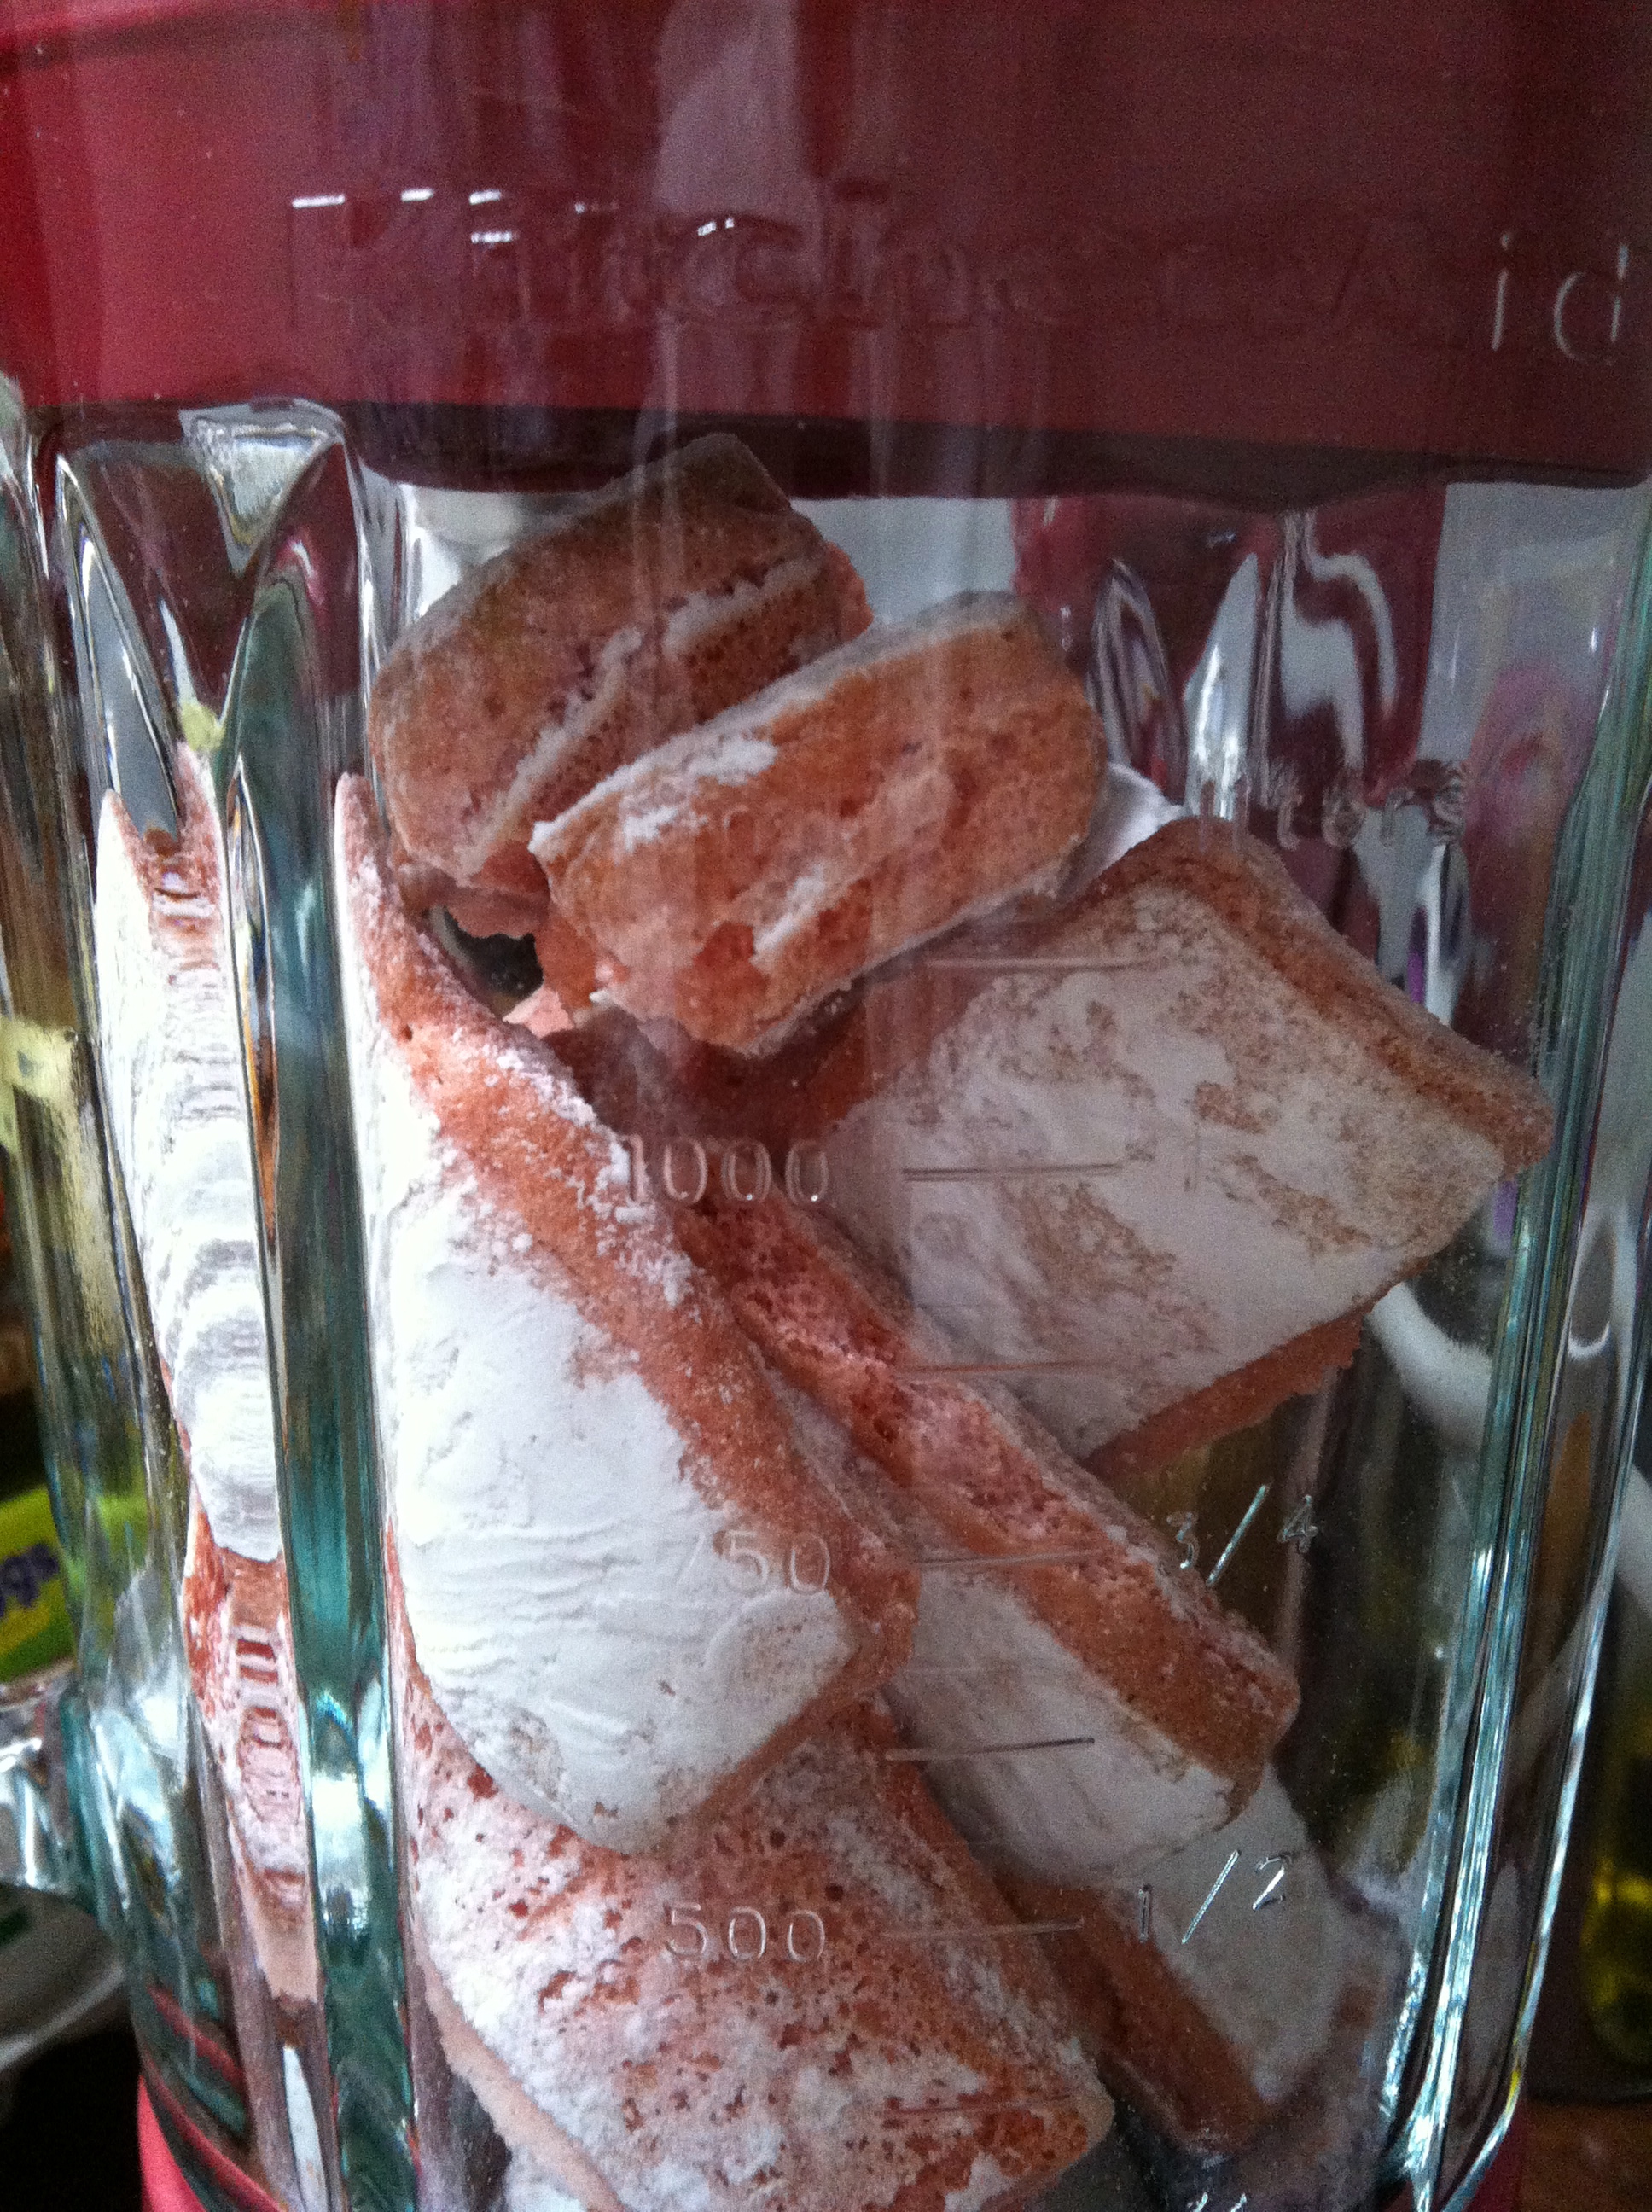
Preheat the oven to 180 degrees celsius. Put your Roses de Reims biscuits into a food processor and blitz until you have a reduced the biscuits to a fine powder.
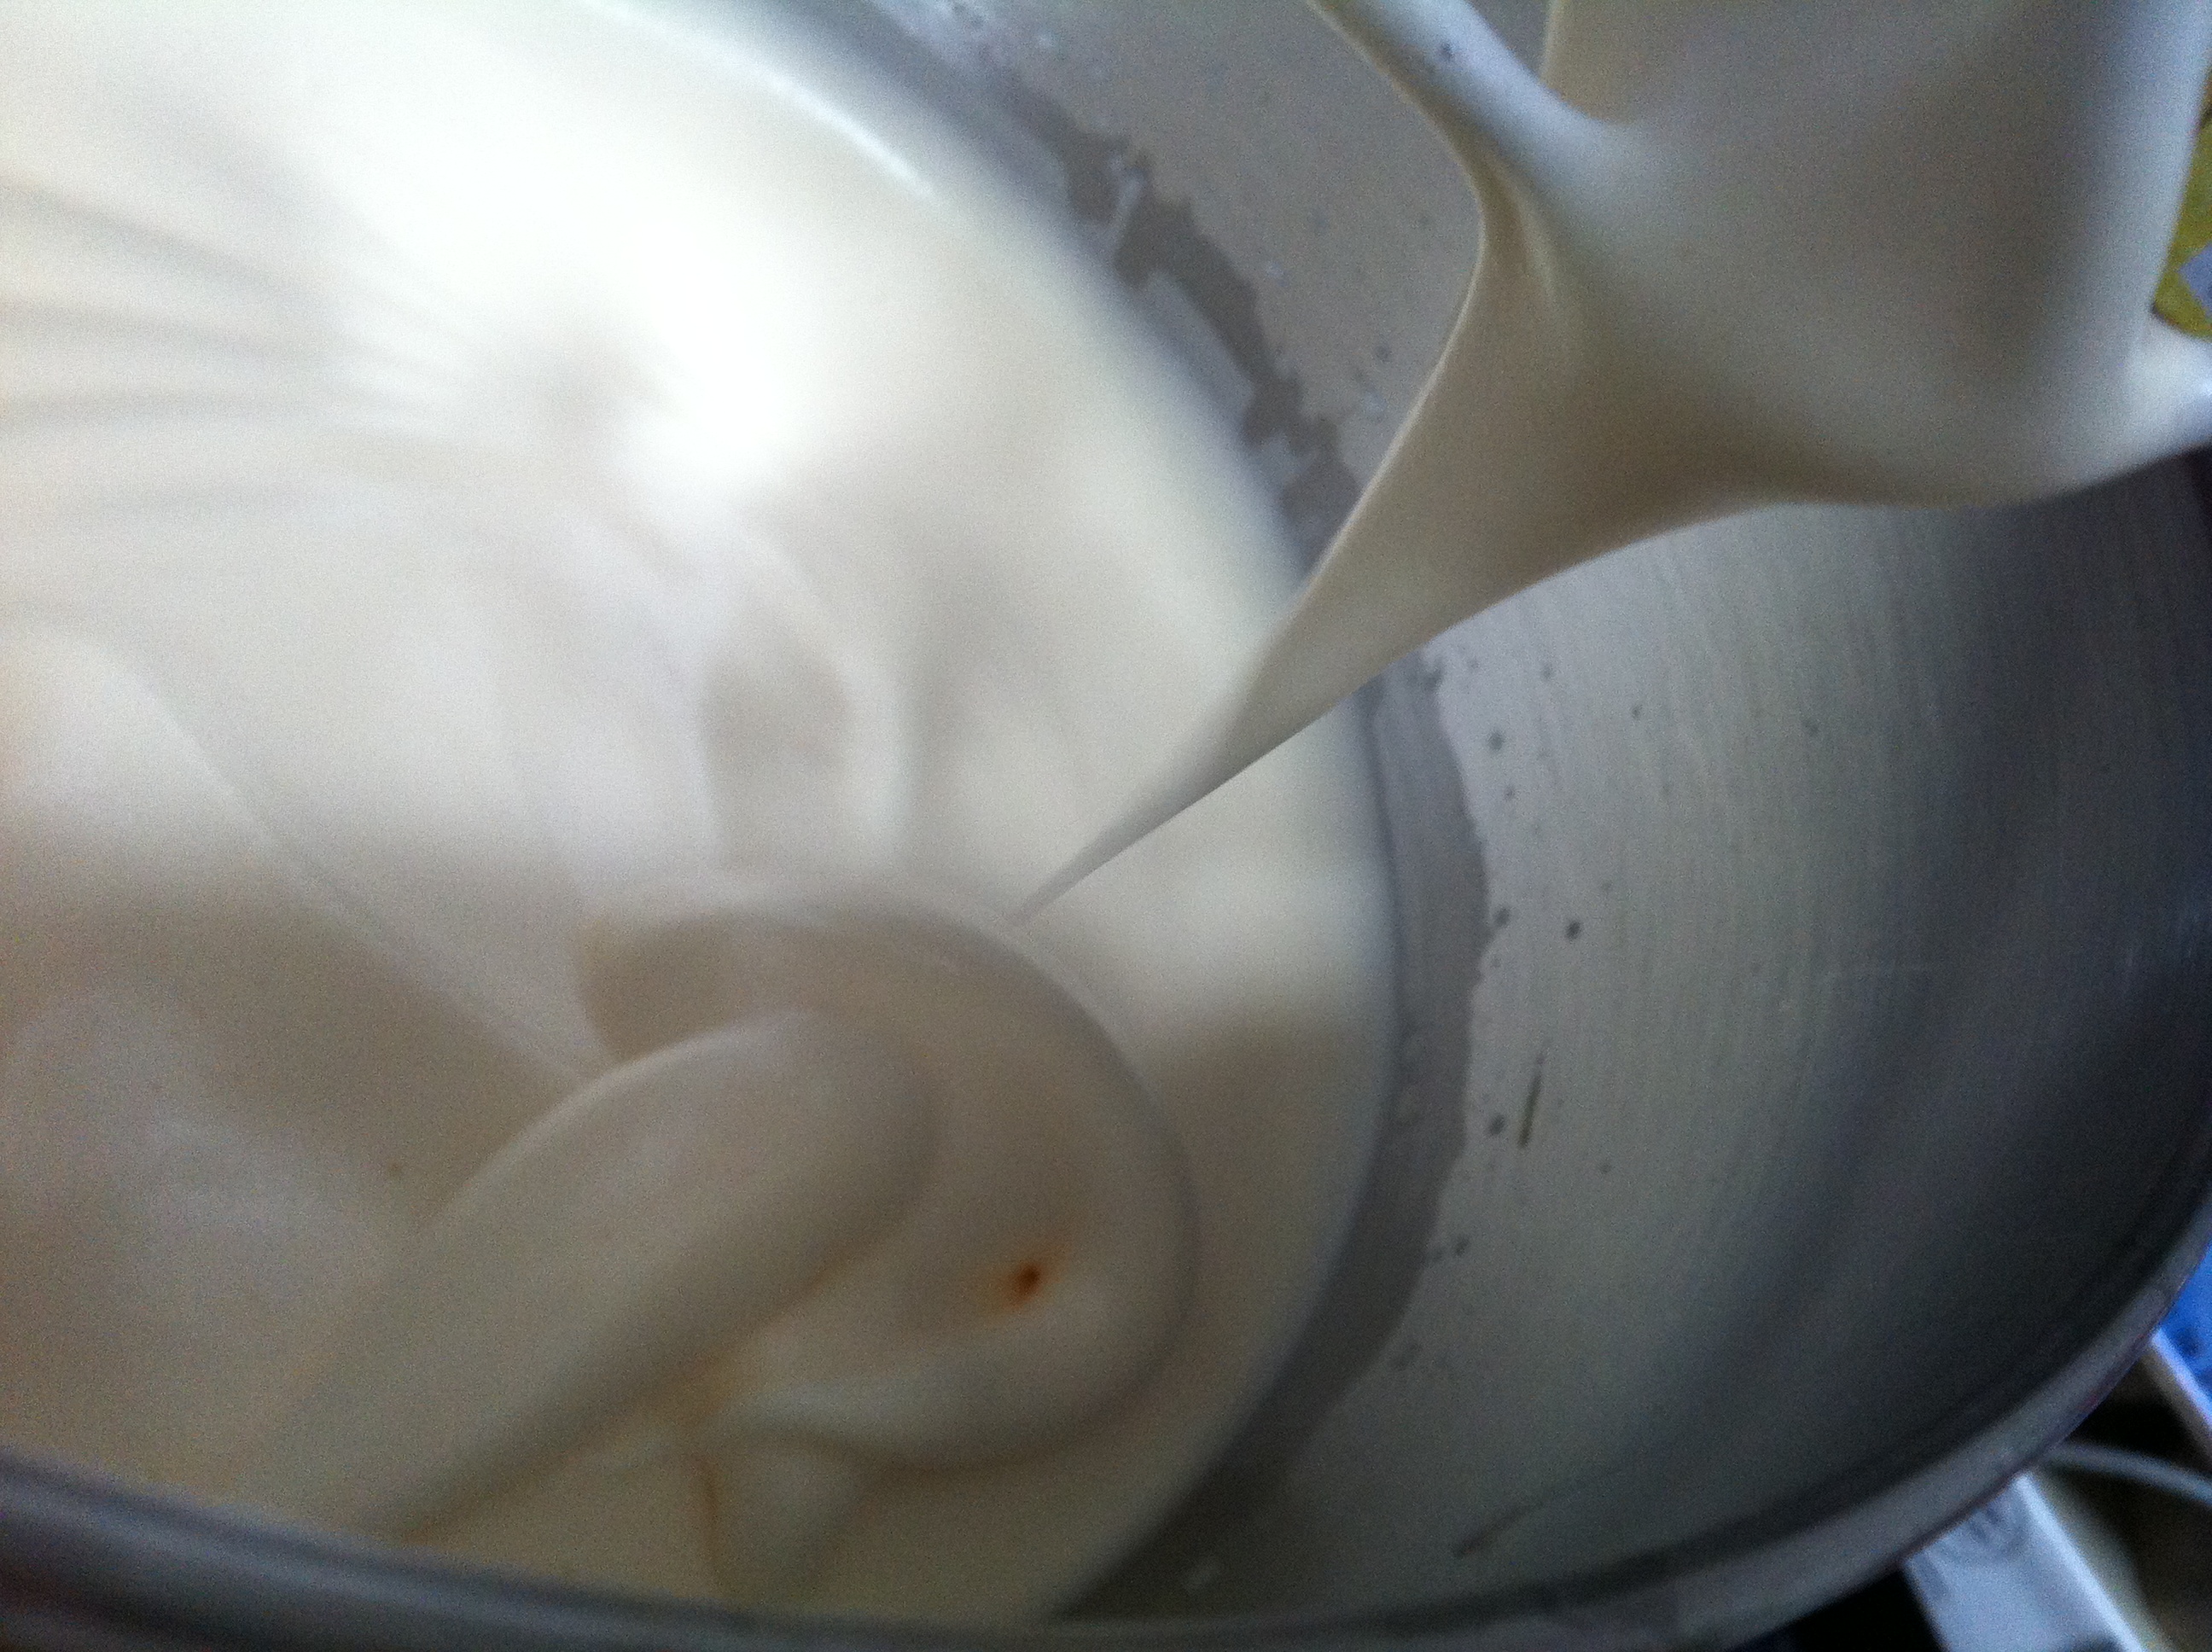
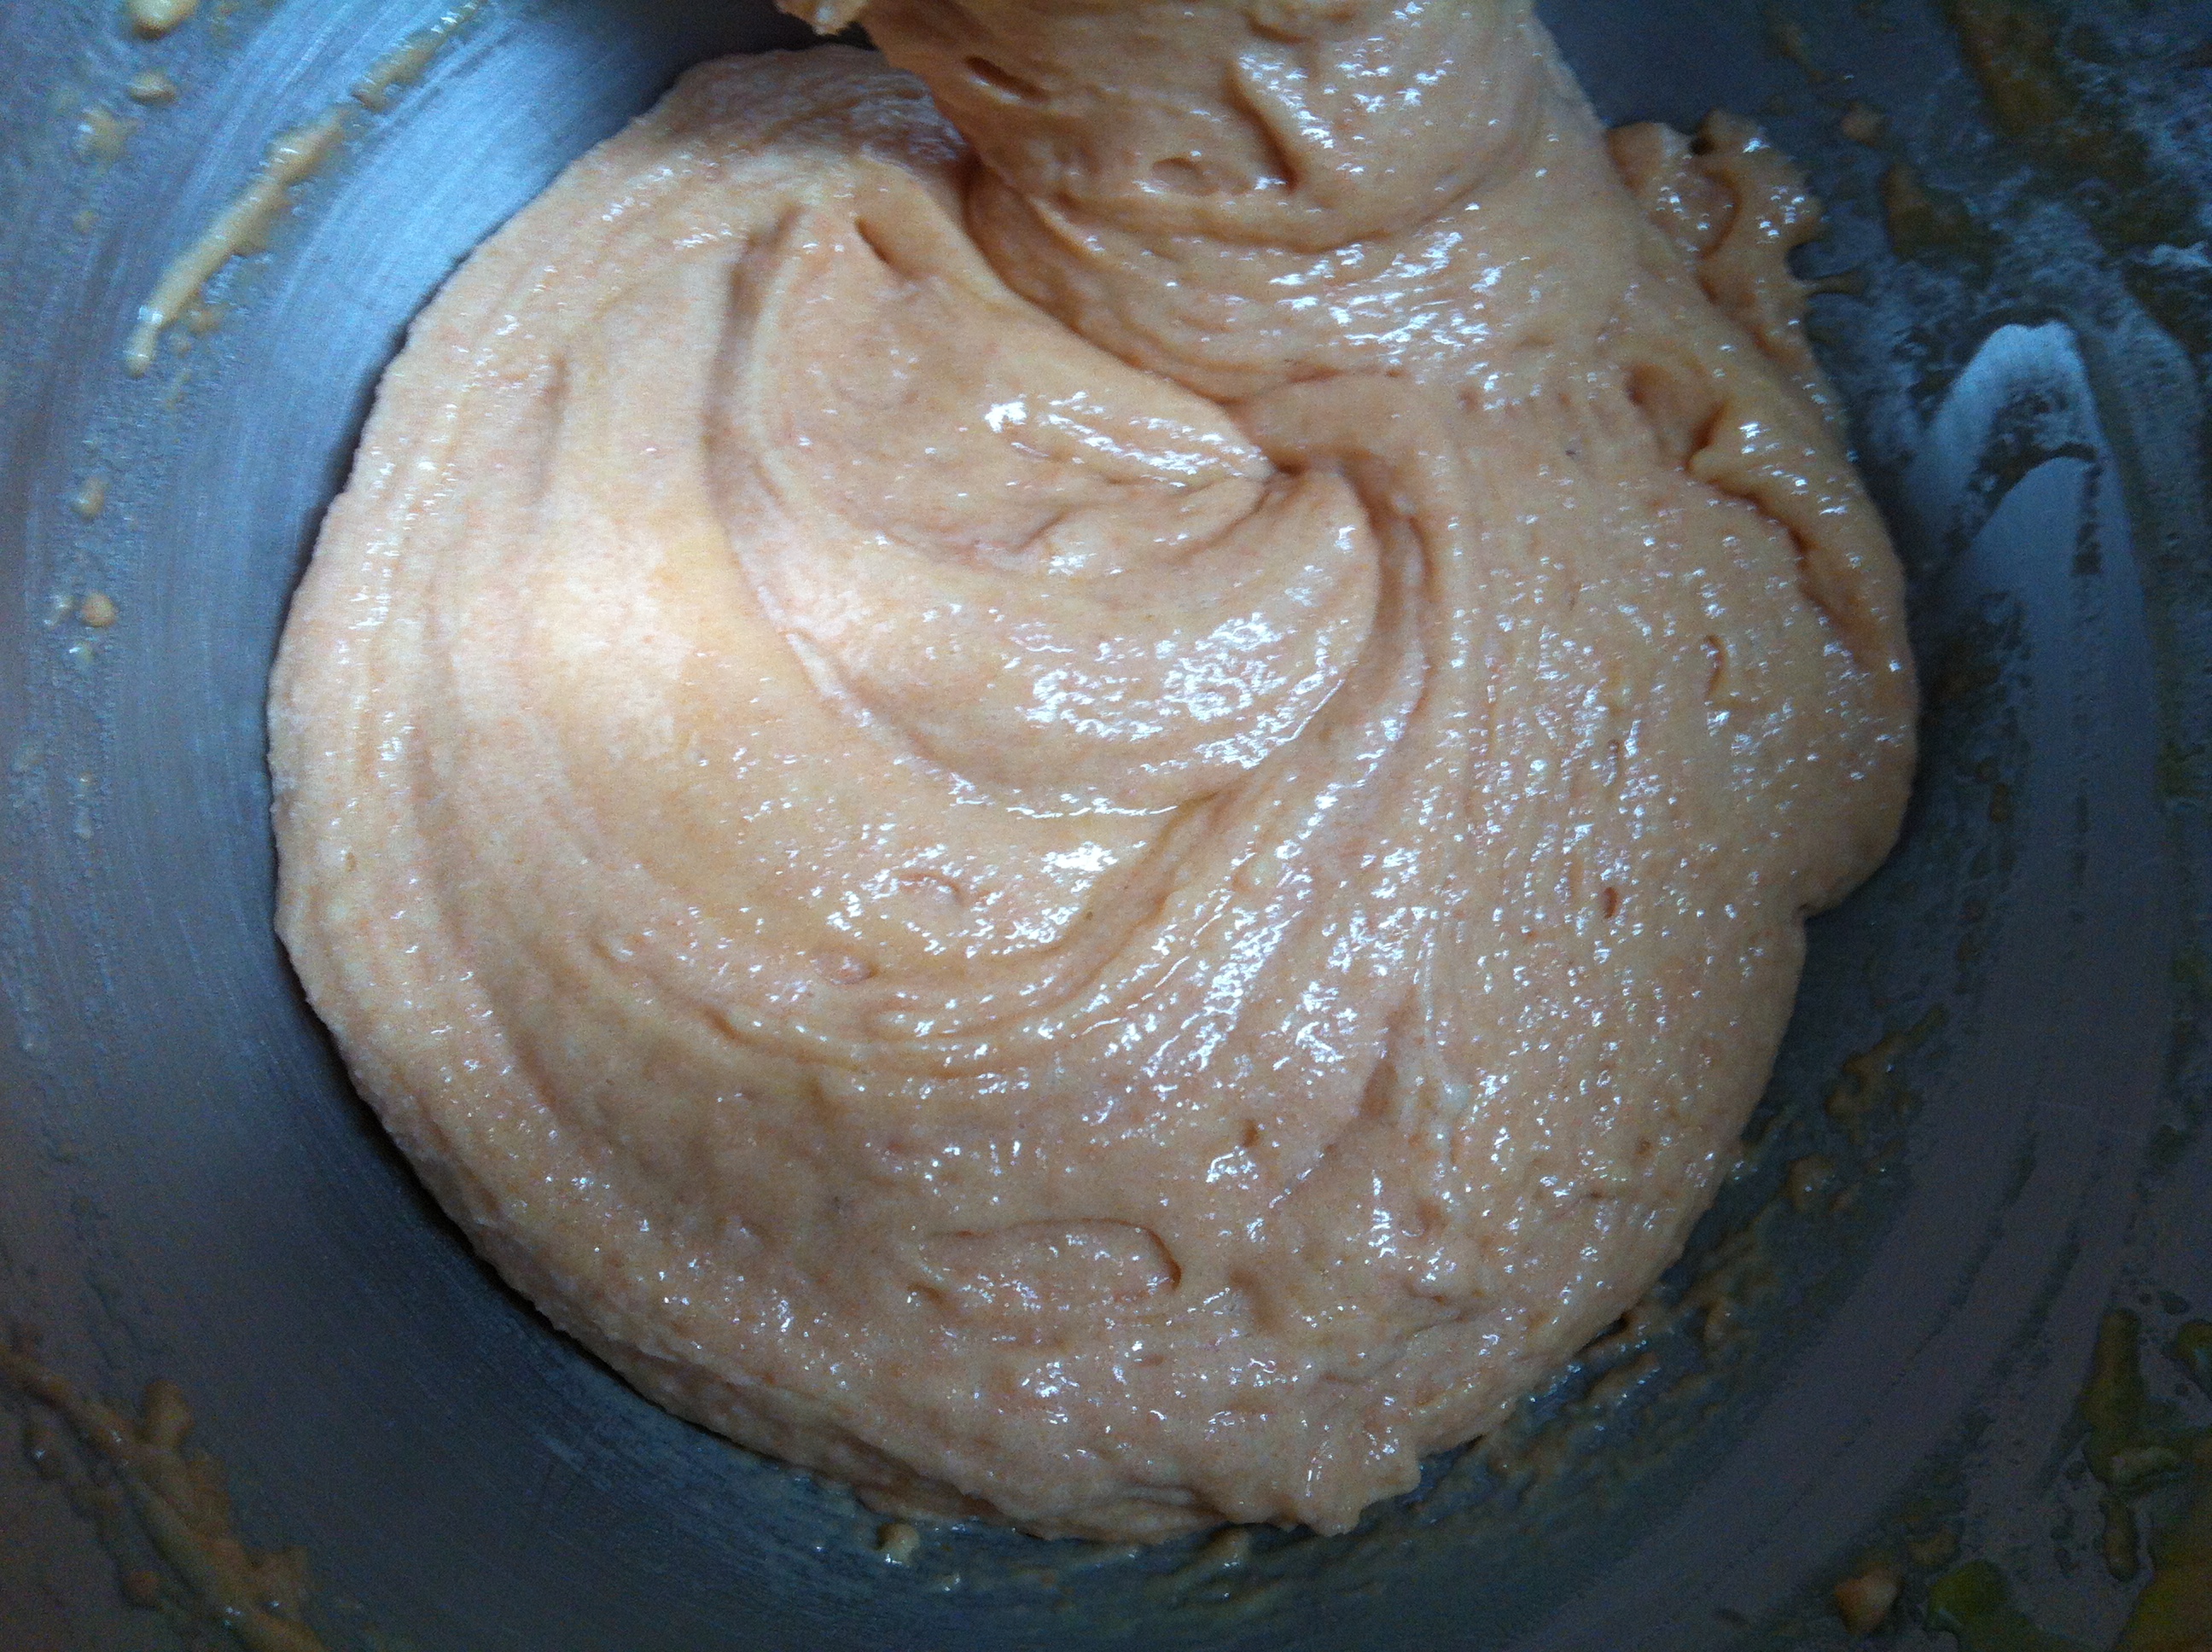
Weigh out your remaining ingredients and grease and line an 18cm round cake tin with a removable base. Now crack the eggs for the sponge into an electric mixer with the sugar and whip at high speed until the batter gets pale and creamy and creates thick ribbons on the surface when you lift the beaters.
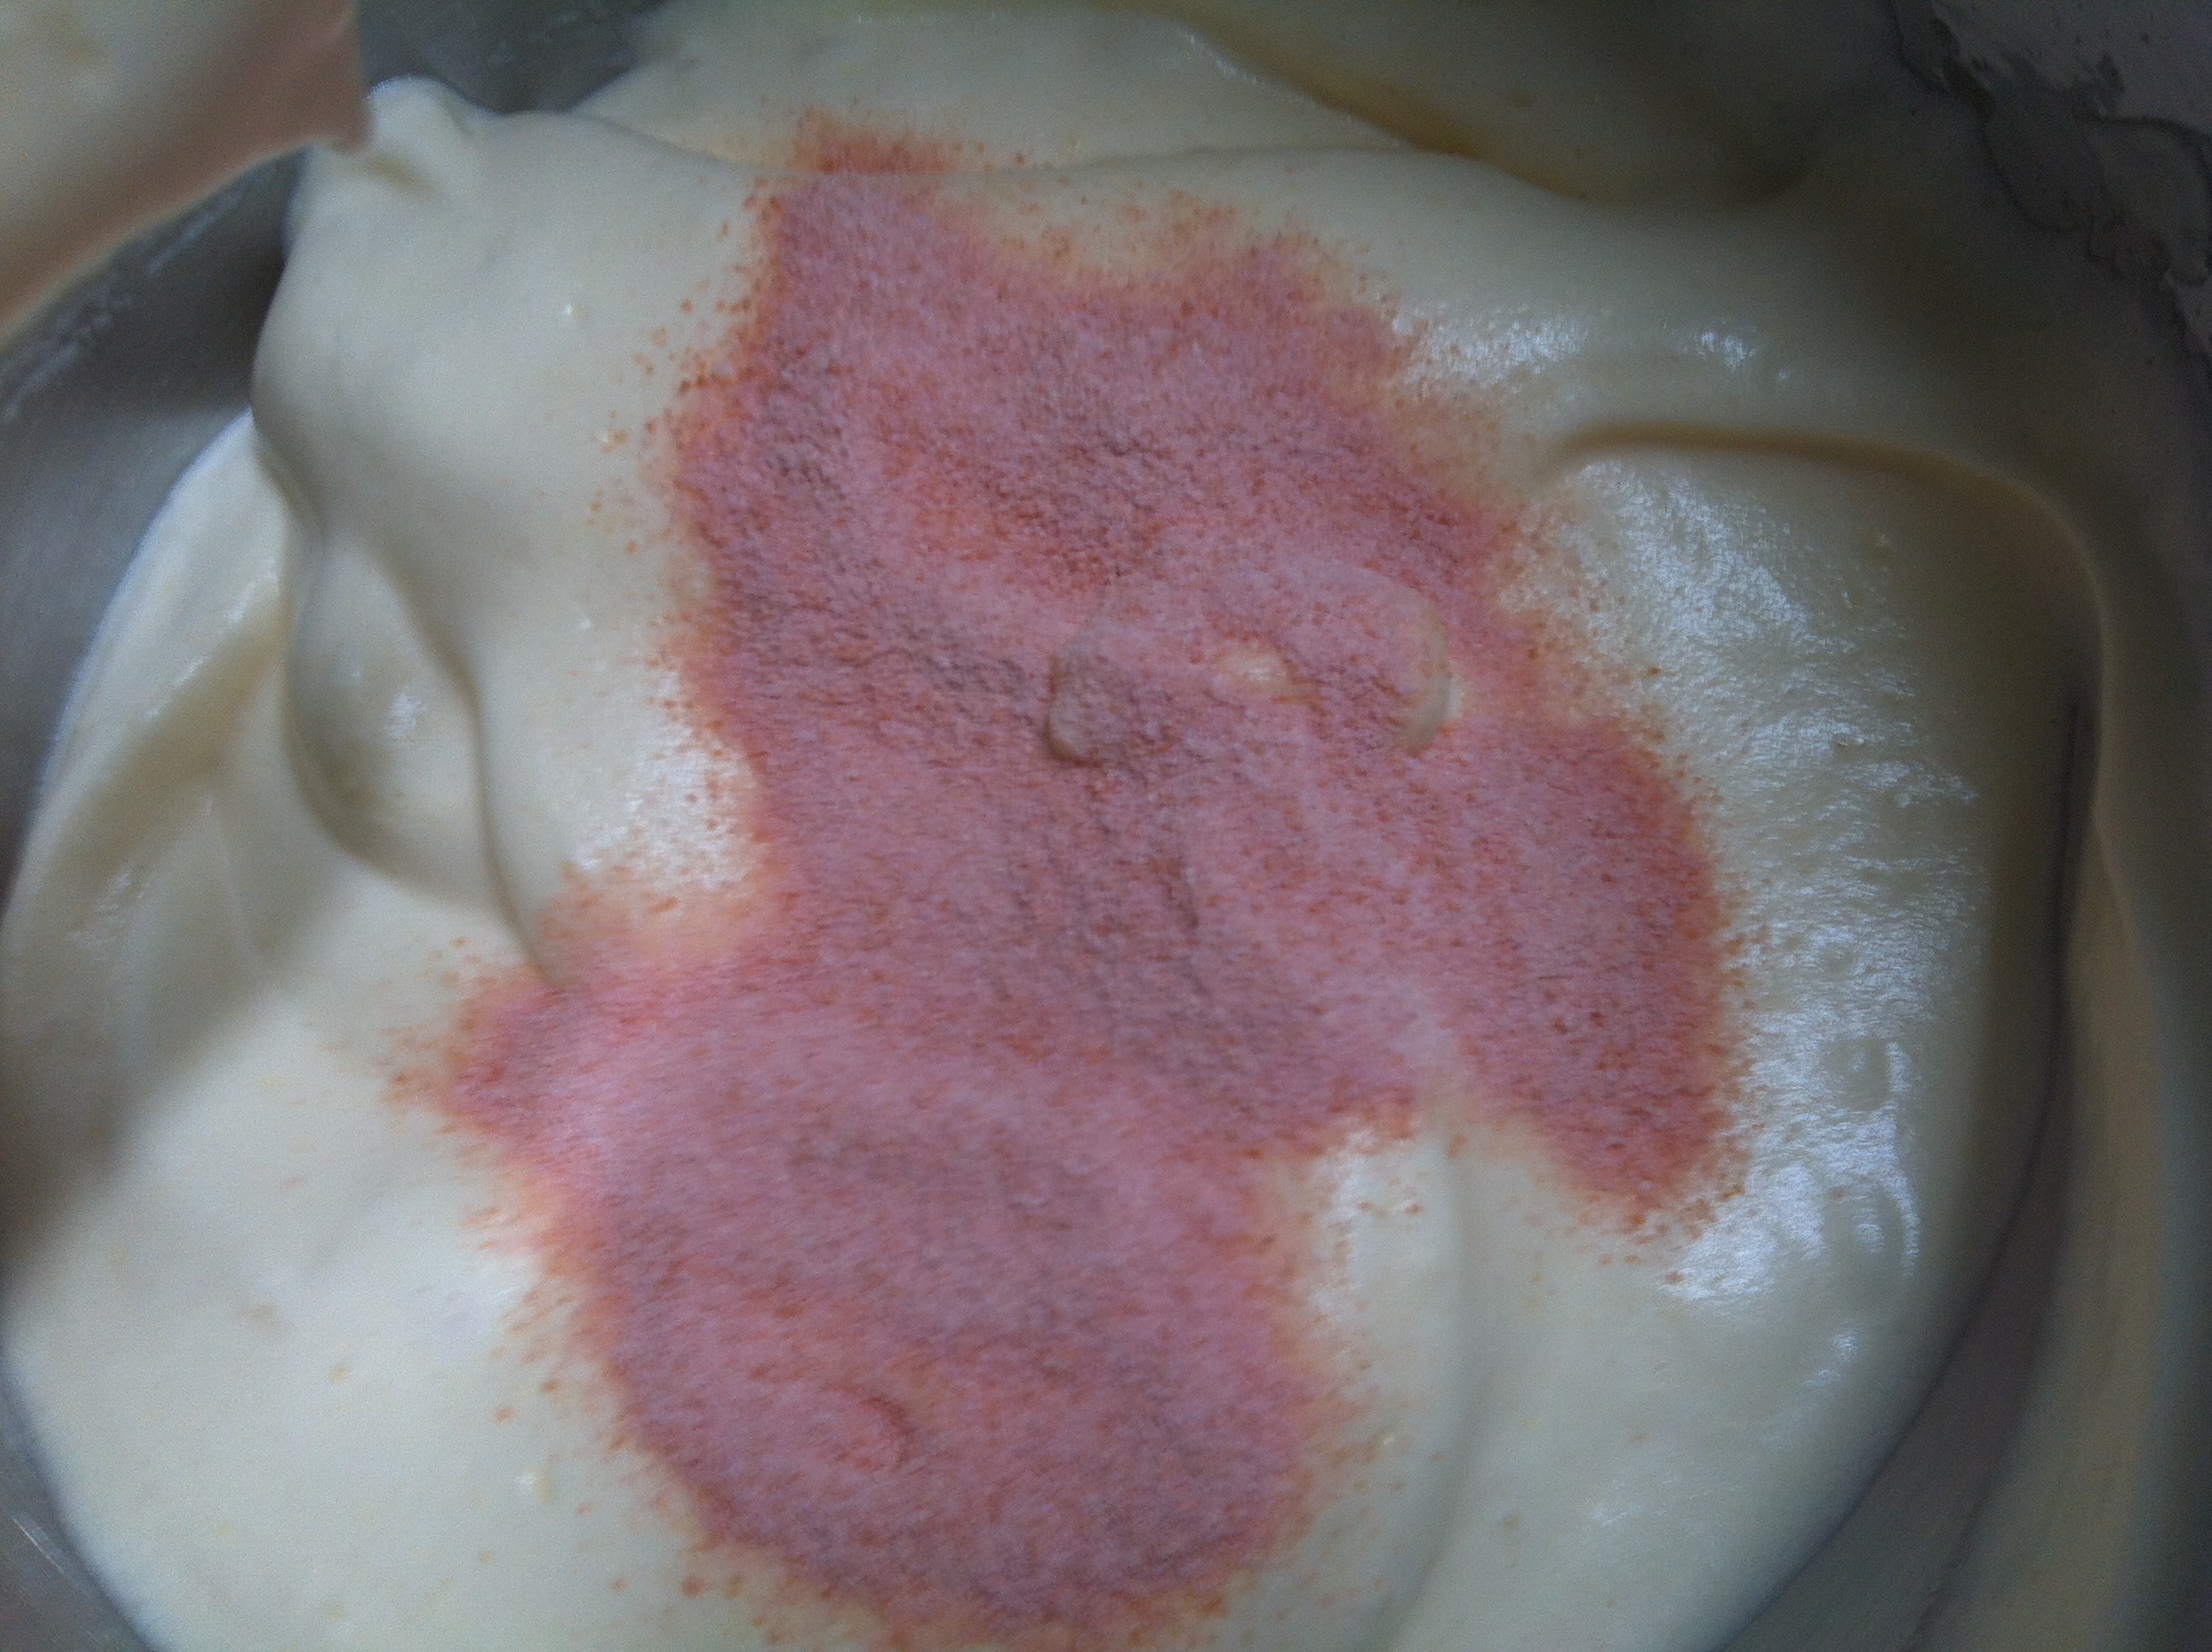
Sift the blitzed biscuits to remove any remaining chunks and gently fold a quarter of the mixture into the batter, alternating with the flour and then finishing with folding in the melted butter. Now, it is worth noting here, that I think this recipe uses far too much flour resulting in a very dense ‘sponge’ if that is not a complete oxymoron! I would reduce the 125g noted to about 3 tablespoons only to maintain a light an airy cake – but that is just me! Who am I to quibble with a French baker?
Spoon the resulting batter into the cake pan and put it in the oven for 15-18 minutes. (Also worth noting that the actual recipe recommends a much longer cooking time. I hope it is an error because 30-40 minutes seems very excessive for a sponge!) When cooked through, remove from the oven and cool in the tin until needed.

Meanwhile, get started on the Creme Mousseline. This is a great filling for pastries and biscuits, light yet firm enough to hold its shape in a layered dessert and not as rich as a buttercream. Start by making a Creme Patissiere placing the eggs in a bowl with about one third of the sugar and whisk with an electric mixer until they are pale and thick enough to form a light ribbon on the surface when the whisk is raised.

In a saucepan, combine the milk with the remaining sugar and a vanilla bean and bring to the boil. As soon as bubbles appear on the surface, pour about one third of the milk mixture onto the whisked eggs – remembering to keep stirring as you go. Pour this mixture back into the original saucepan and cook over a medium heat stirring continuously until the mixture boils and thickens (about 2 minutes).
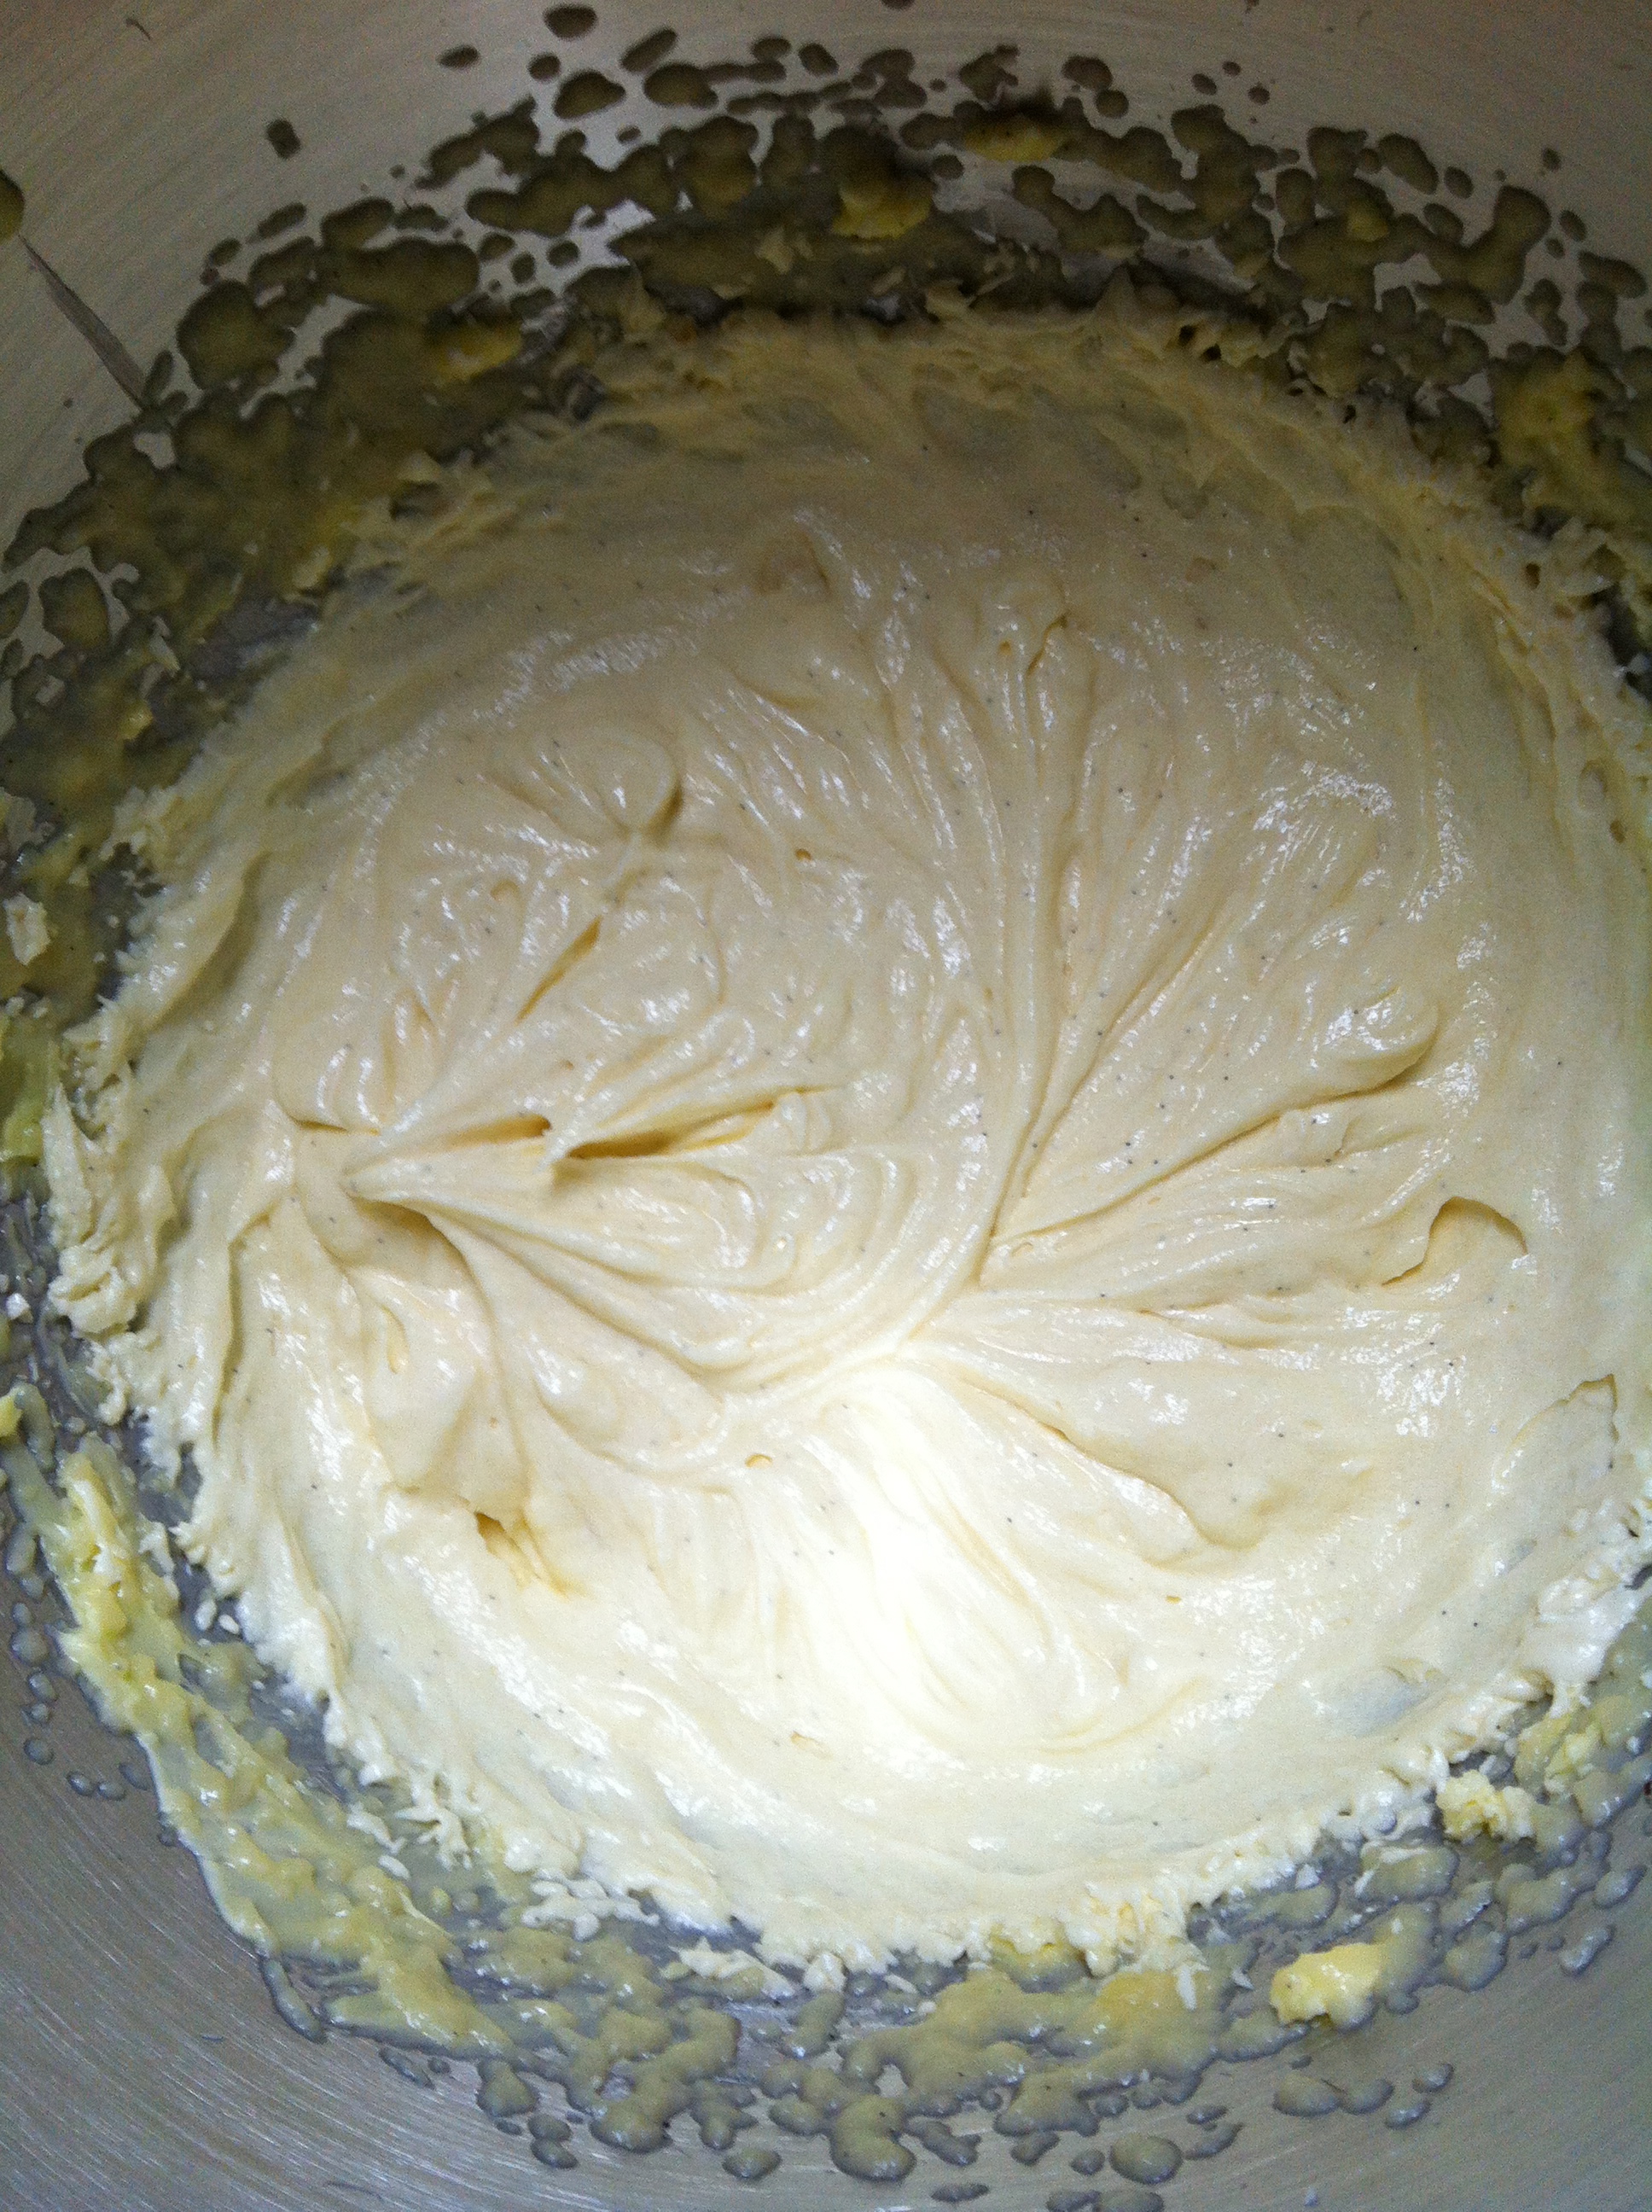
As soon as the Creme Patissiere is cooked through, take the pan off the heat and beat in one third of the chopped butter. Whisk the remaining two thirds of butter in an electric mixer at low speed until they are pale and creamy. Increase the mixer speed to medium and add the Creme Patissiere mixture little by little and mix for 5 minutes, after which your Creme Mousseline is ready to use.
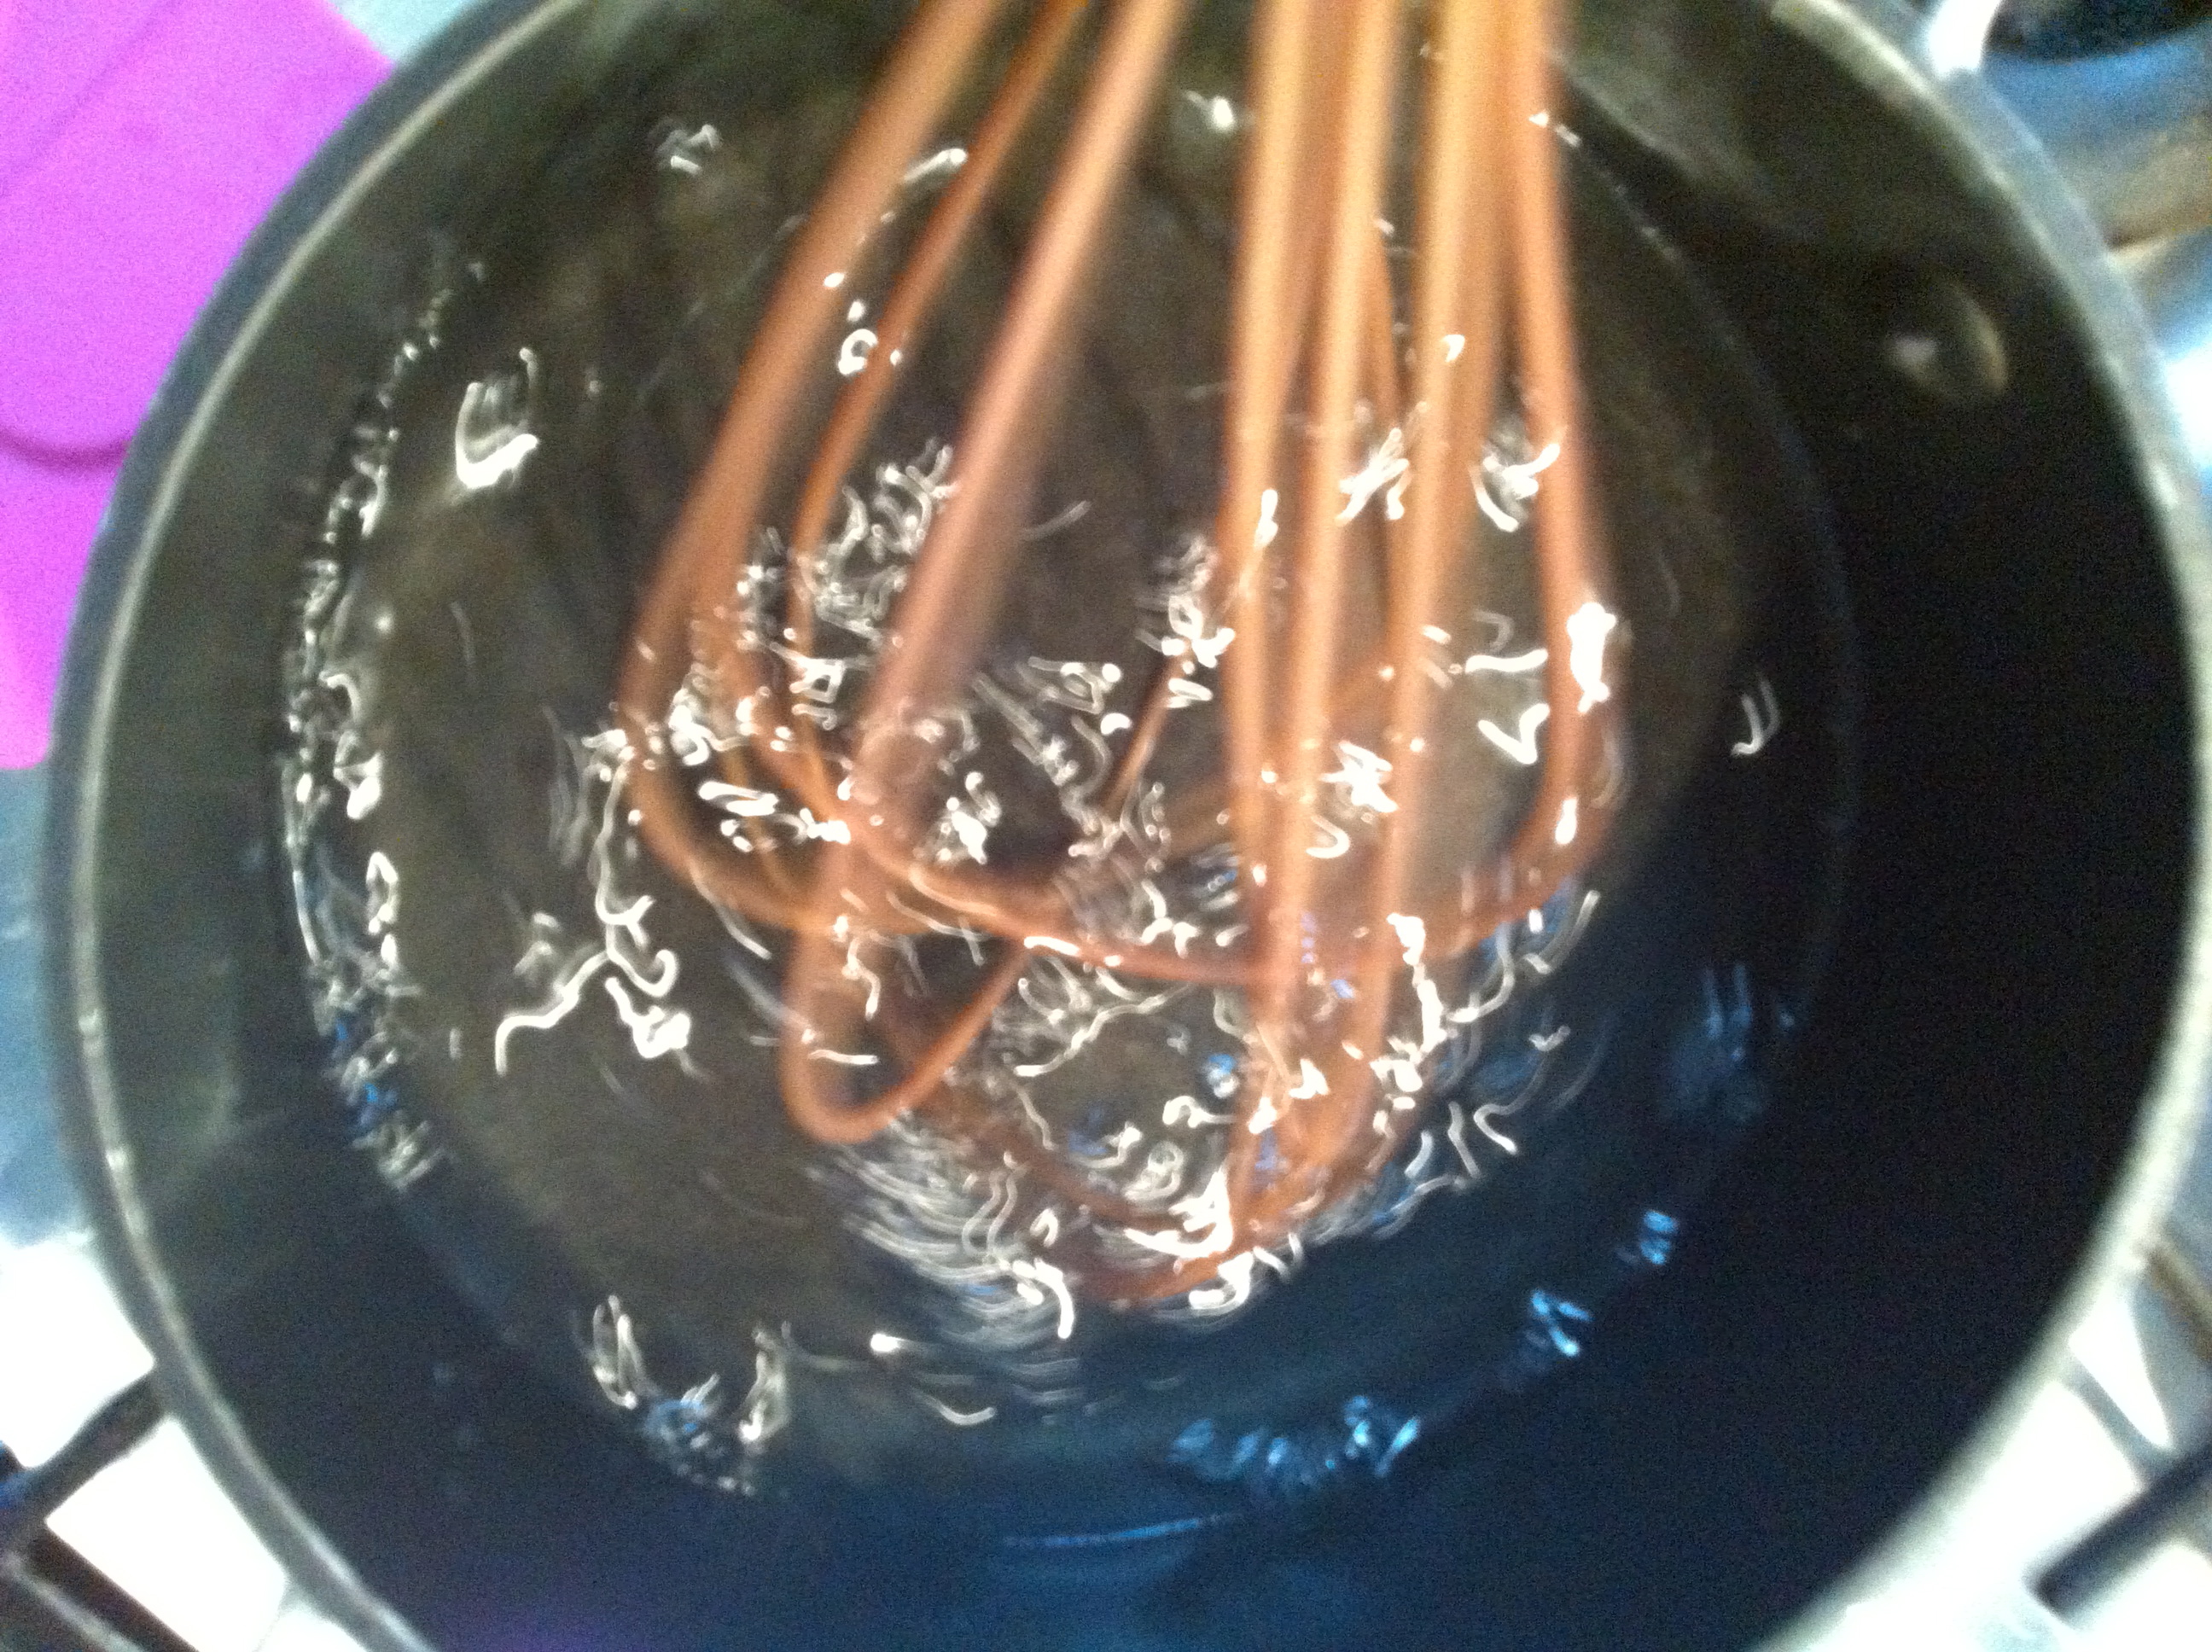
To make the jelly, bring the water and sugar to the boil and then reduce heat to a simmer for 5 minutes. In the meantime, measure out 500ml of champagne into a heat proof bowl.
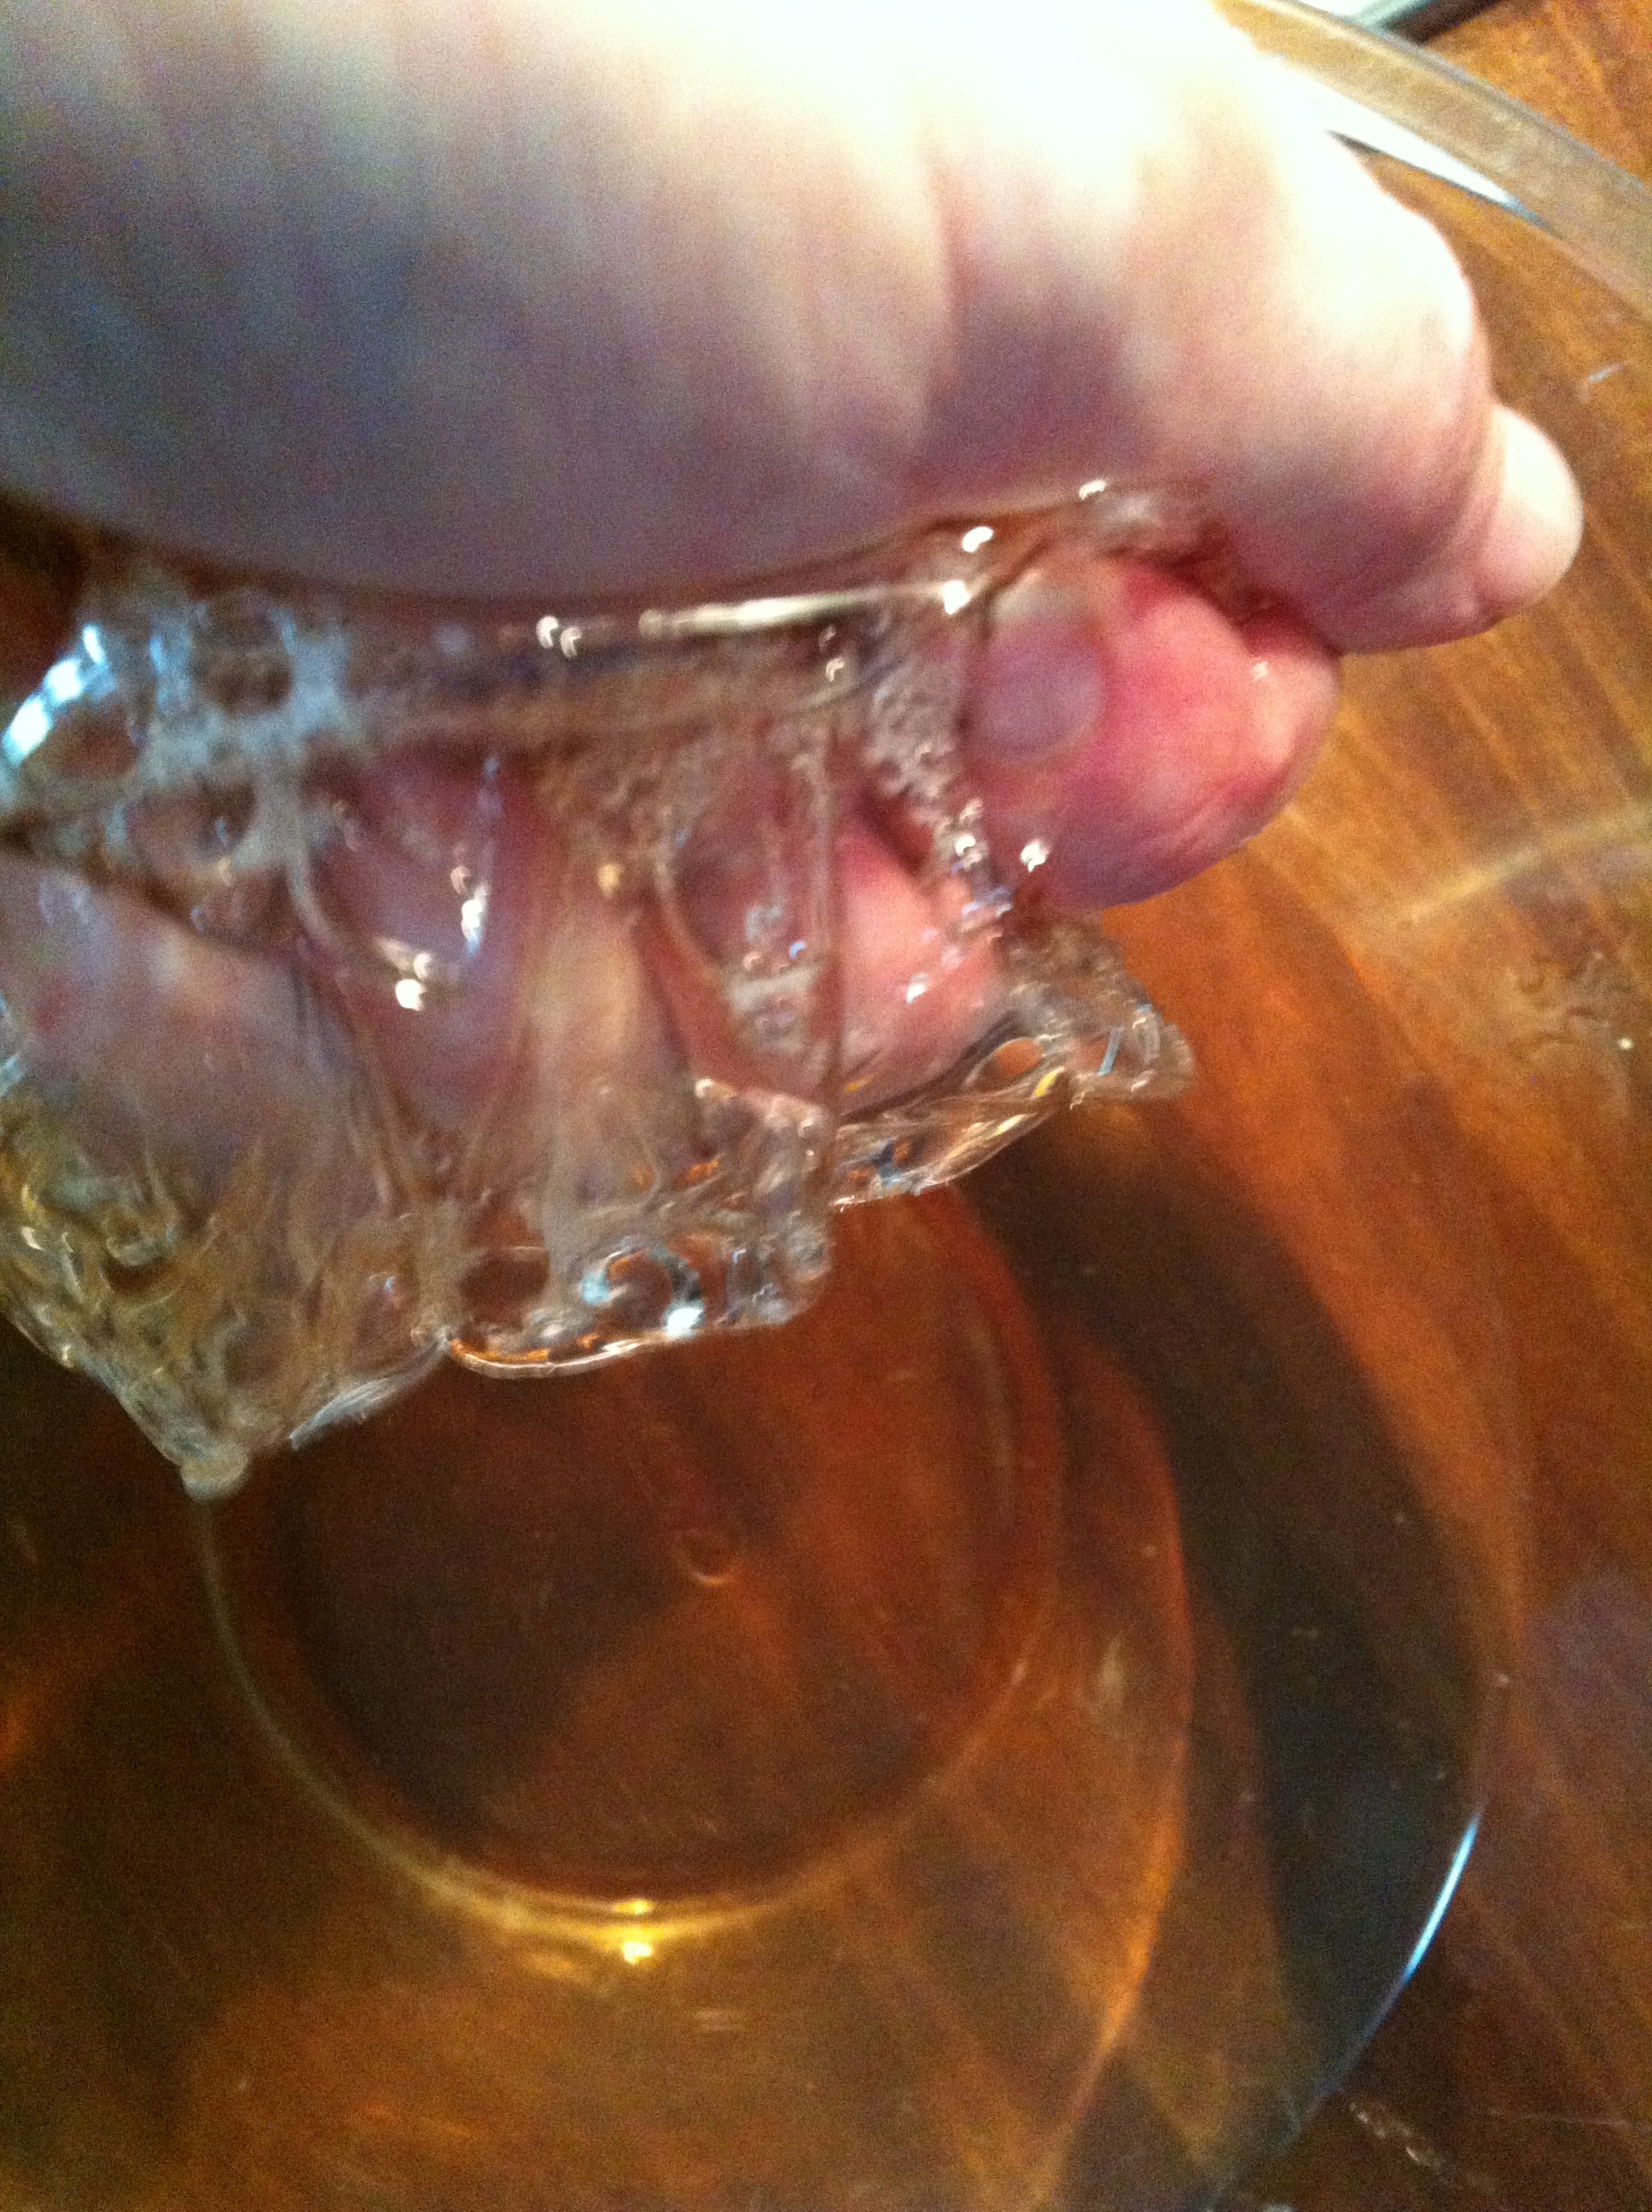
Add the gelatine leaves to the champagne and soak for about 5 minutes before wringing them out with your hands and transferring them to the sugar and water mixture and stirring thoroughly to make sure they are completely dissolved. Add the warm sugar mixture to the Champagne and refrigerate for 1 hour before assembling the little cakes.
Assembly:
1. Use a biscuit cutter to cut a disk out of the sponge cake and slice this disc in half through middle.
Note: To make a whole cake, use an 18cm springform pan in the same way as I describe for the smaller food stacking ring.
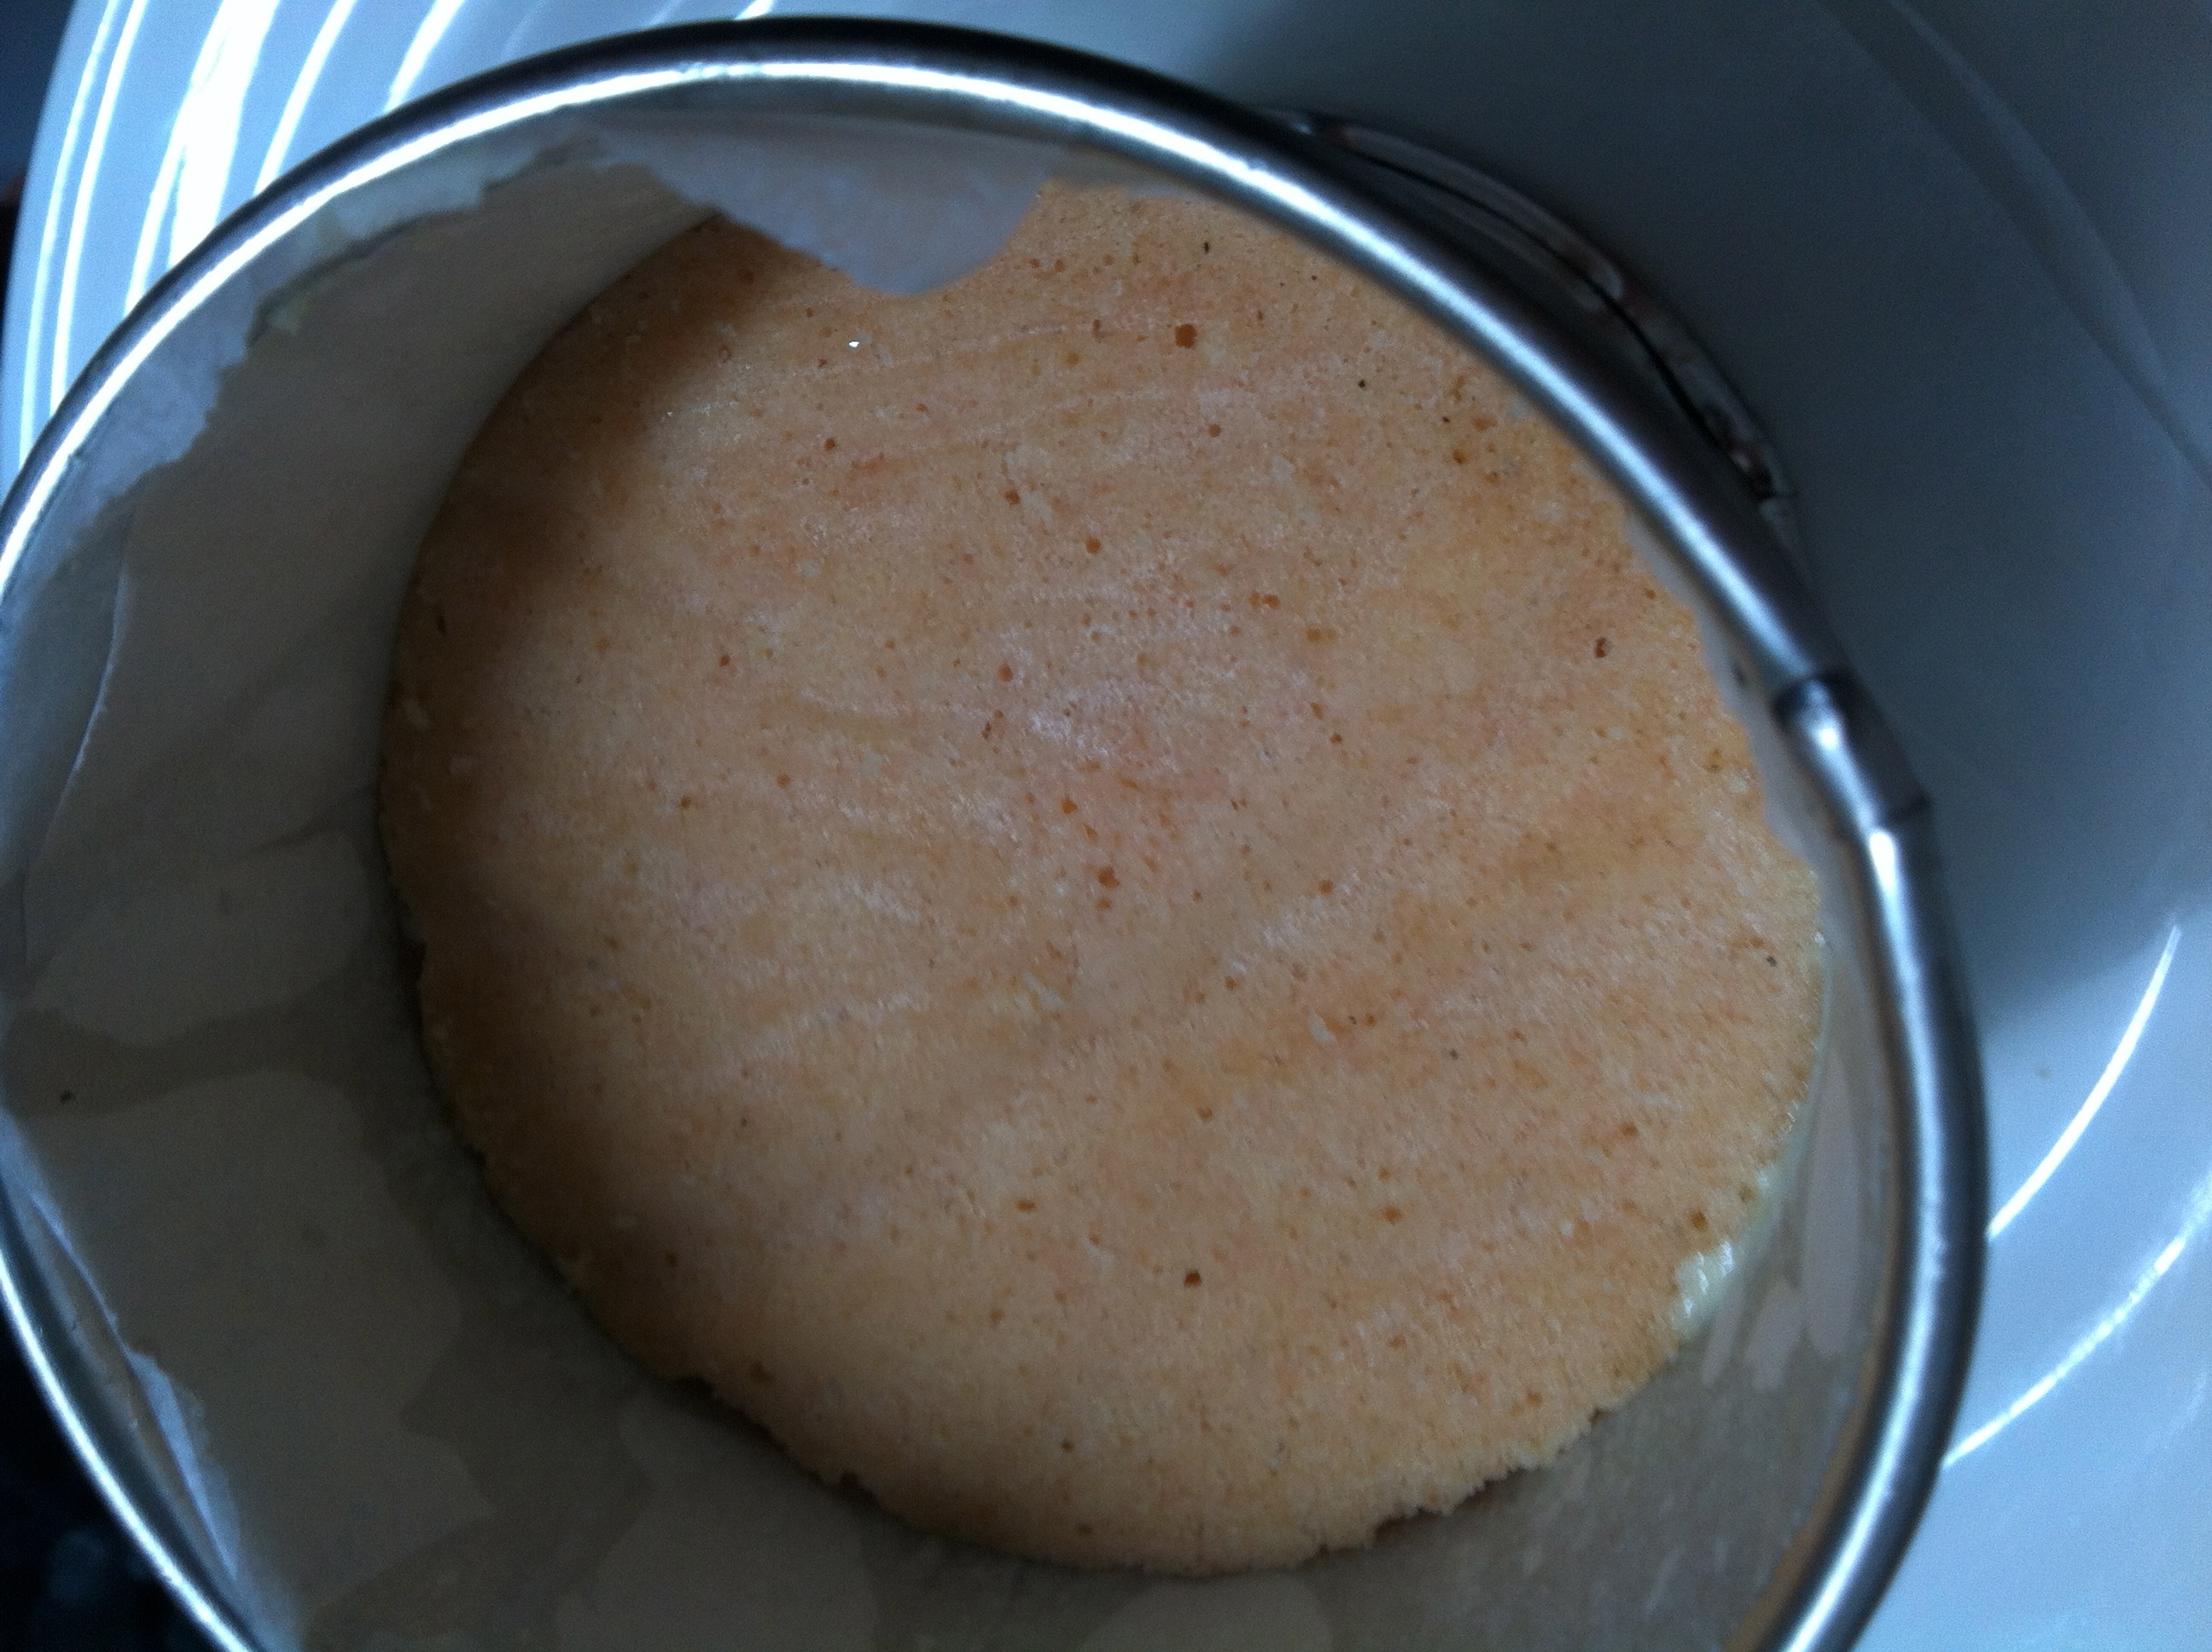
2. Drizzle the cake disks with a little champagne and place one disk in the base of a prepared (spray oil and parchment paper lined) food stacking ring, similarly sized to the biscuit cutter. Or you can use your food stacking ring to cut the sponge if sharp edged.
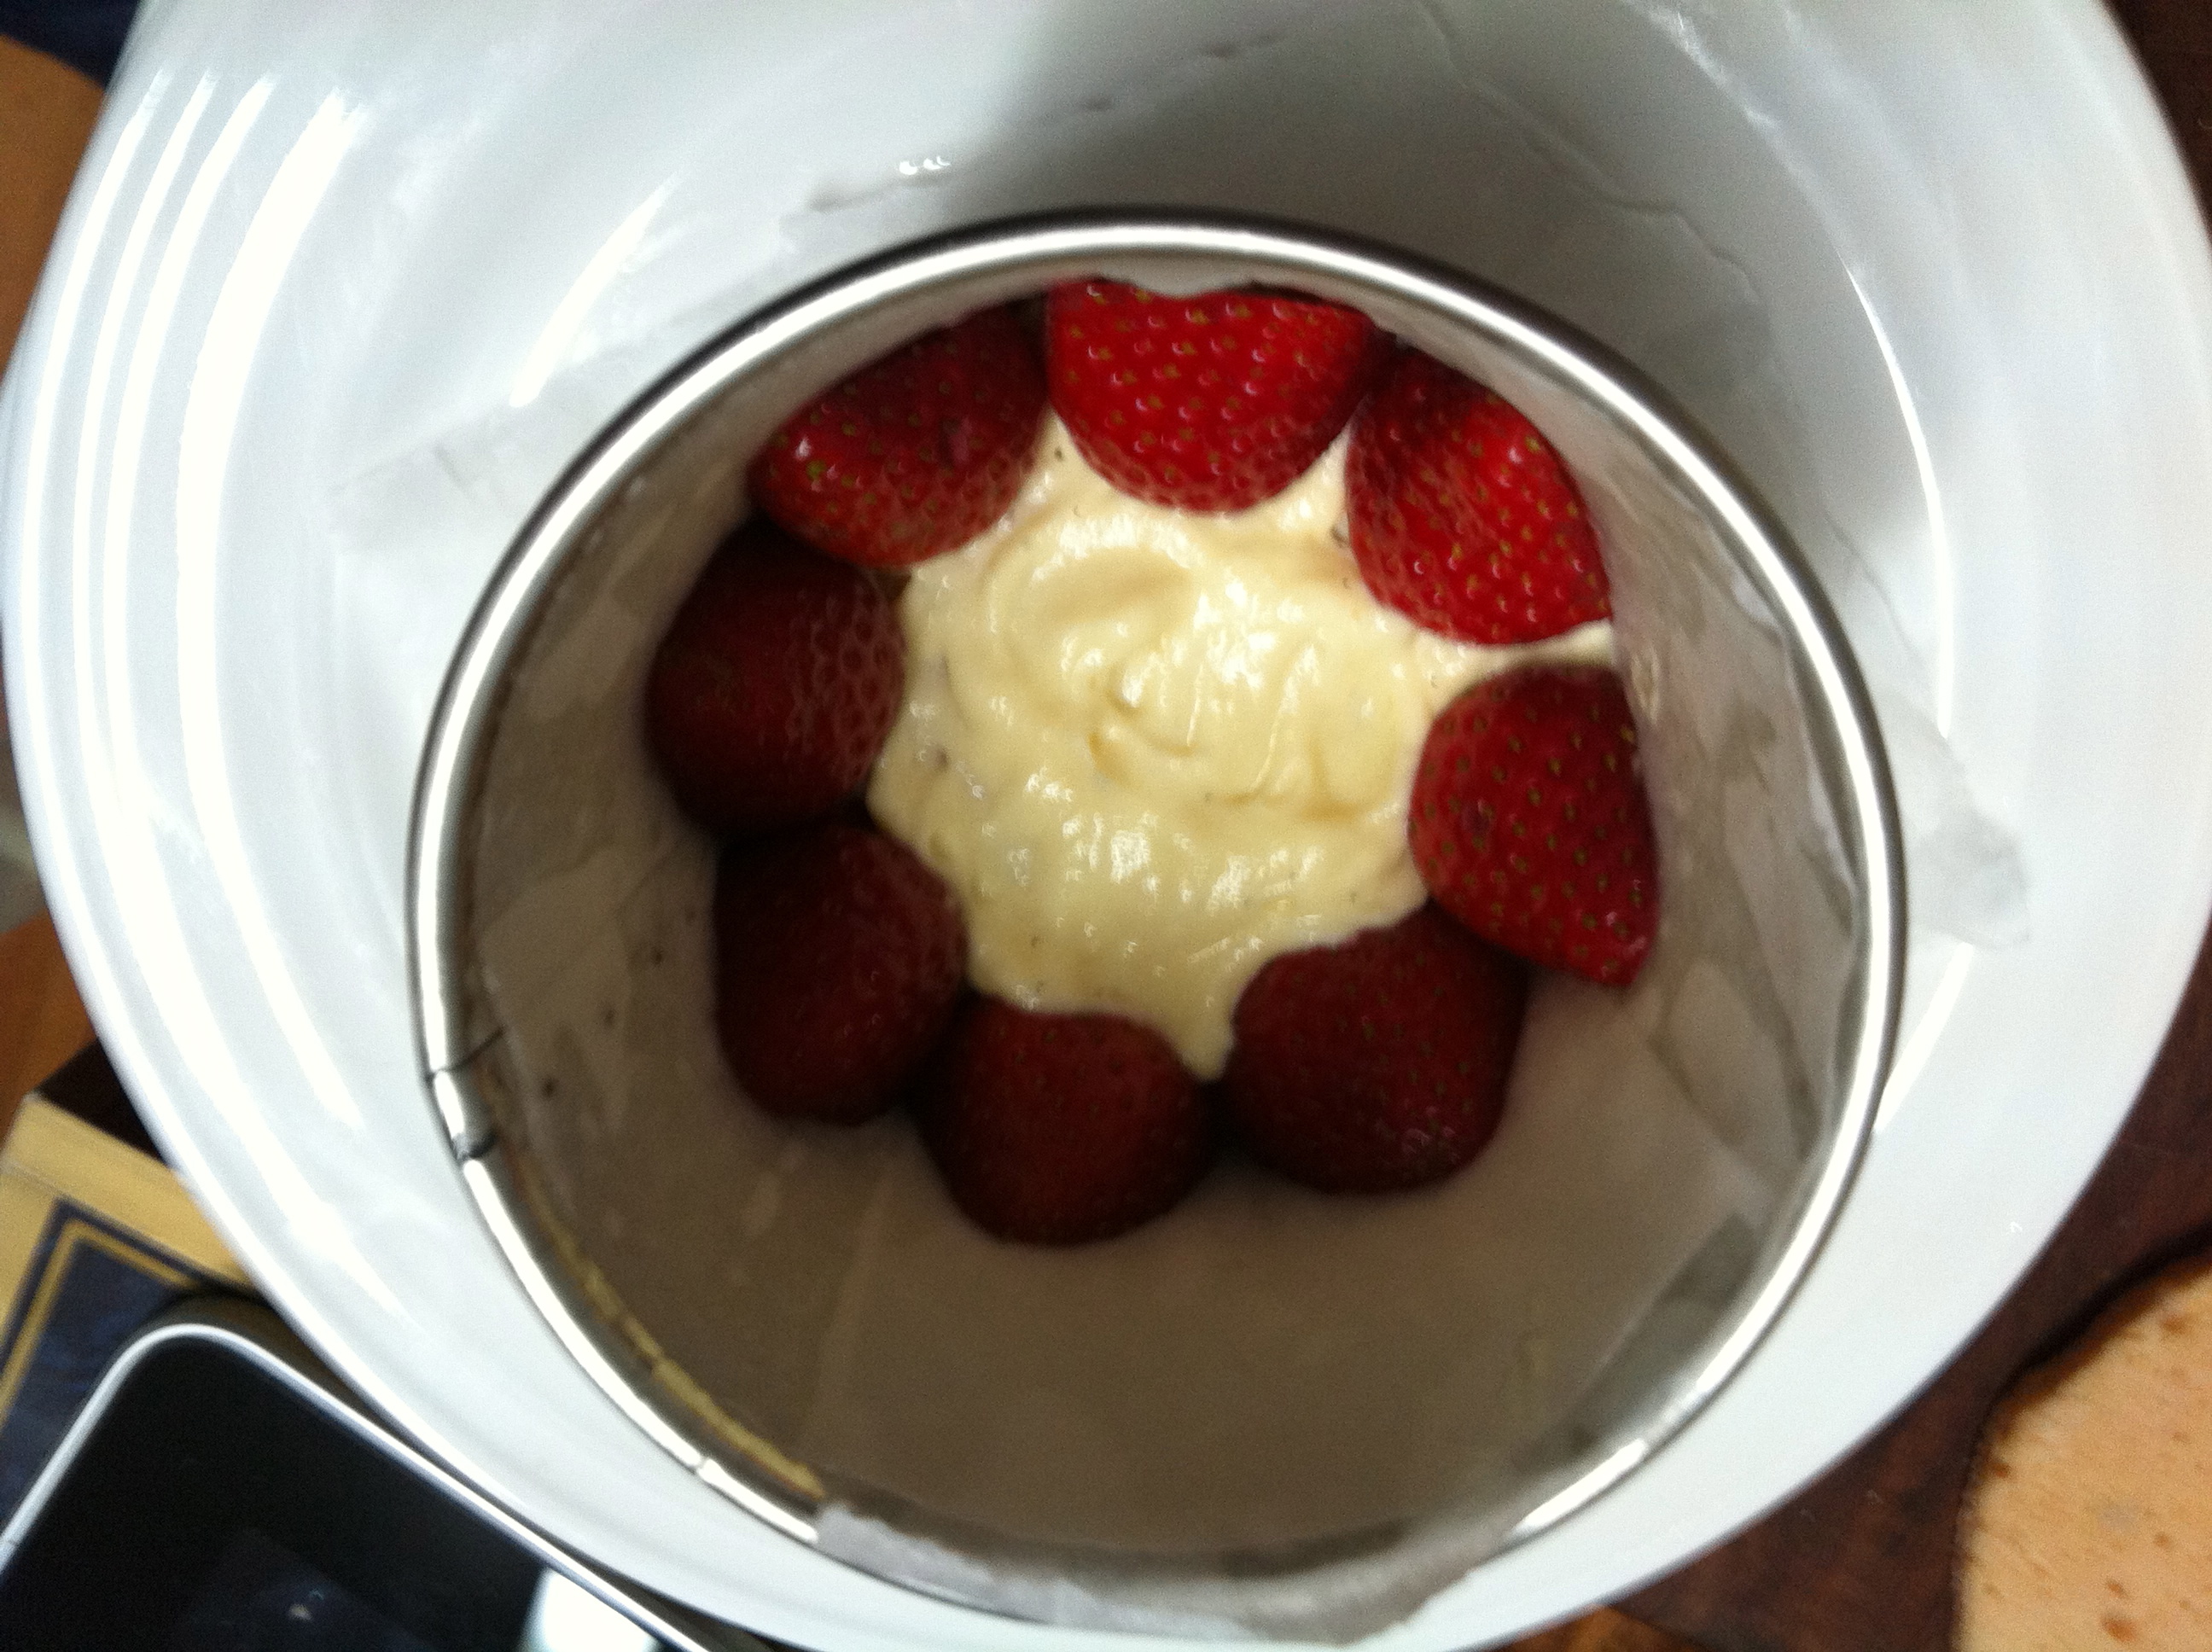
3. PIpe a little Creme Mousseline onto the cake base. Remove the green tops from the strawberries and cut them in half through the point lengthwise and place strawberries around the edge with the cut side facing outwards and a few in the cake centre. Then fill up the remaining spaces to completely cover fruit with Creme Mousseline and place the remaining cake disk on top to gently to sandwich the fruit and creme. Spread another thin layer of Creme Mousseline on top of the cake (note: I forgot to do this part!) and place in the fridge to chill.
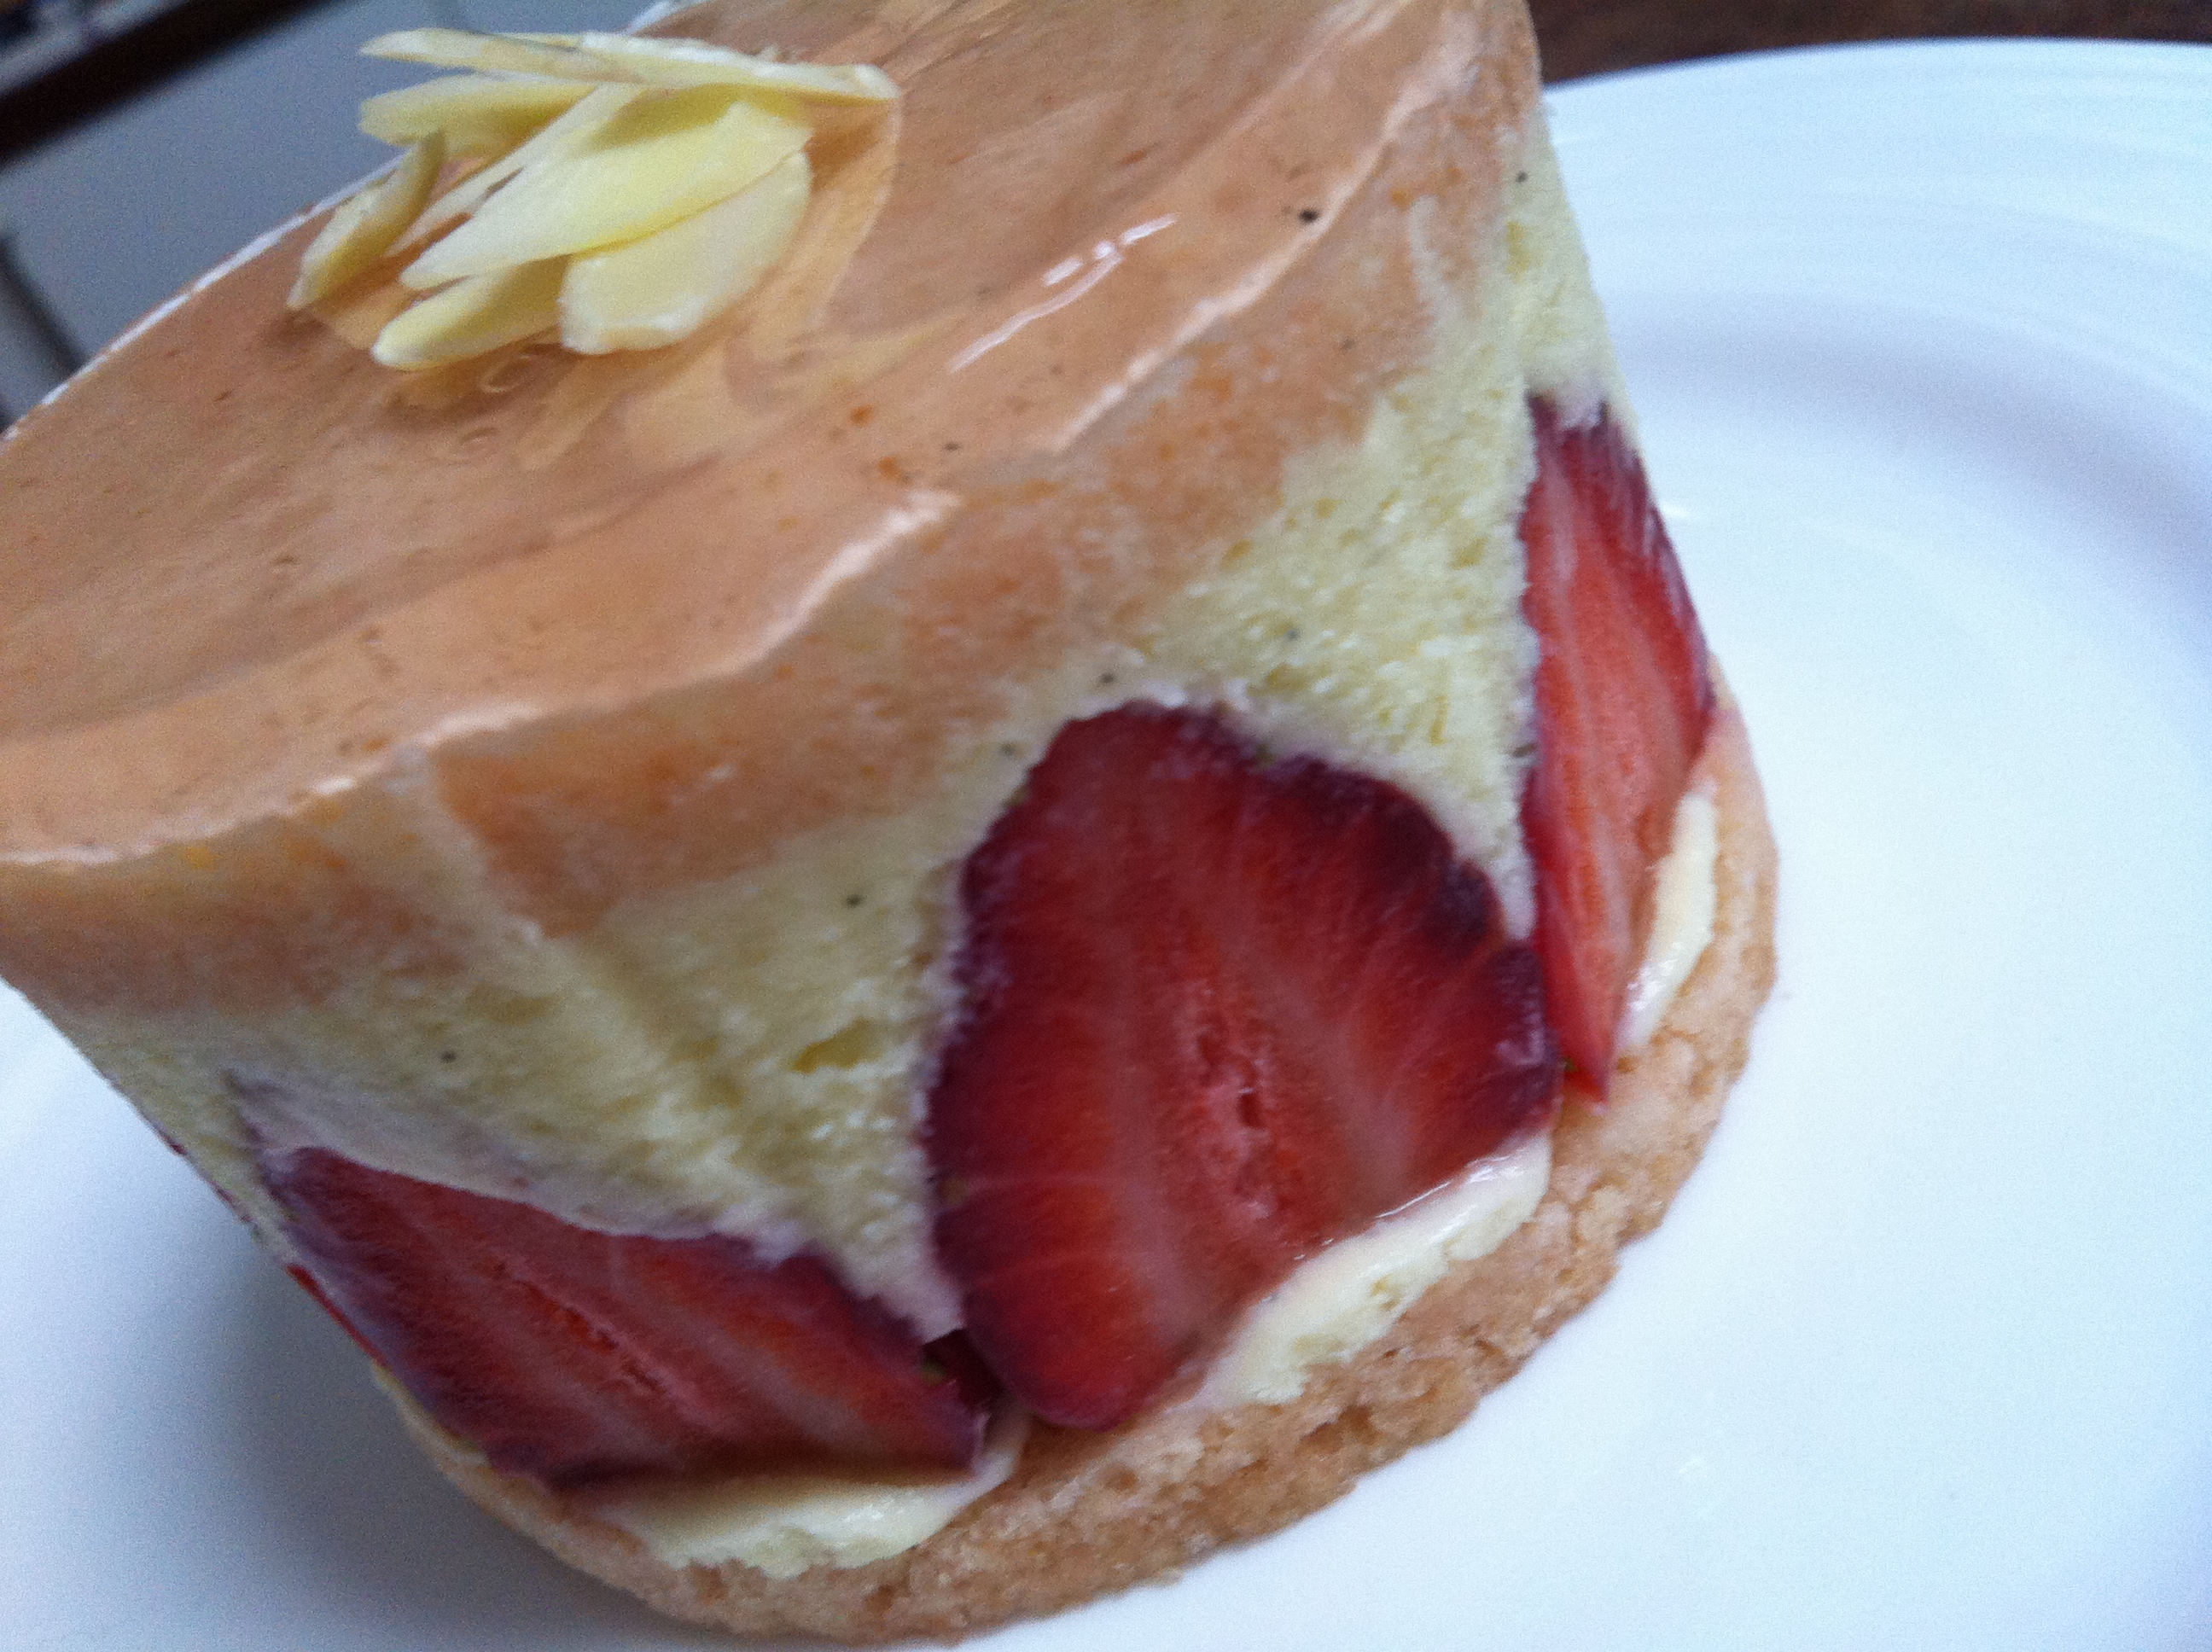
4. When the jelly has chilled for an hour, take it out of the fridge and gently spoon a few teaspoons worth over the top of the cake and return to the fridge to set.
5. To serve, gently press the cake out of the food stacker (I found pushing from the bottom up was easiest) and garnish with some toasted almonds (or gold leaf if you are feeling decadent!).
