
So, this recipe is for a delicious French pastry – a common market treat in the towns and villages of Brittany, going as far back as about 1860. It is a reportedly a variety of ‘Breton Cake’ with the name ‘Kouign Aman’ coming from the Breton words for ‘cake’ and ‘butter’.
The ingredients are simple: butter, sugar, butter, sugar, flour, water and a bit of yeast. Yet in the bringing together of these ingredients, a kind of alchemy takes place and you finish with a magical caramelised cakey, croissanty type treat – that you simply have to try.
The recipe might look tricky. It is not. The recipe might look time-consuming. It is not. No single step is overly complicated and no single step takes longer than 10 minutes or so. Try it one rainy day when you are spending time at home. Take it step by step as the day goes by and before you know it you’ll have a bench top full of beautiful pastries looking like they popped fresh out of a French Patisserie…go on, dare you!
The recipe I follow here is adapted from http://www.thekitchn.com. I’ll share a few images from my experience as I trial their recipe – but they do give a great tutorial on how to make these pastries. I’d encourage you to visit the website and have a read if you want to know more.
Ingredients
- 1 cup of luke warm water
- 2 teaspoons of dry active yeast
- 2 1/2 cups of plain flour (extra for dusting)
- 1 teaspoon of salt
- 250g of salted butter (best you can find, plus extra for greasing pans)
- 1 1/2 cups of sugar
How to do it:
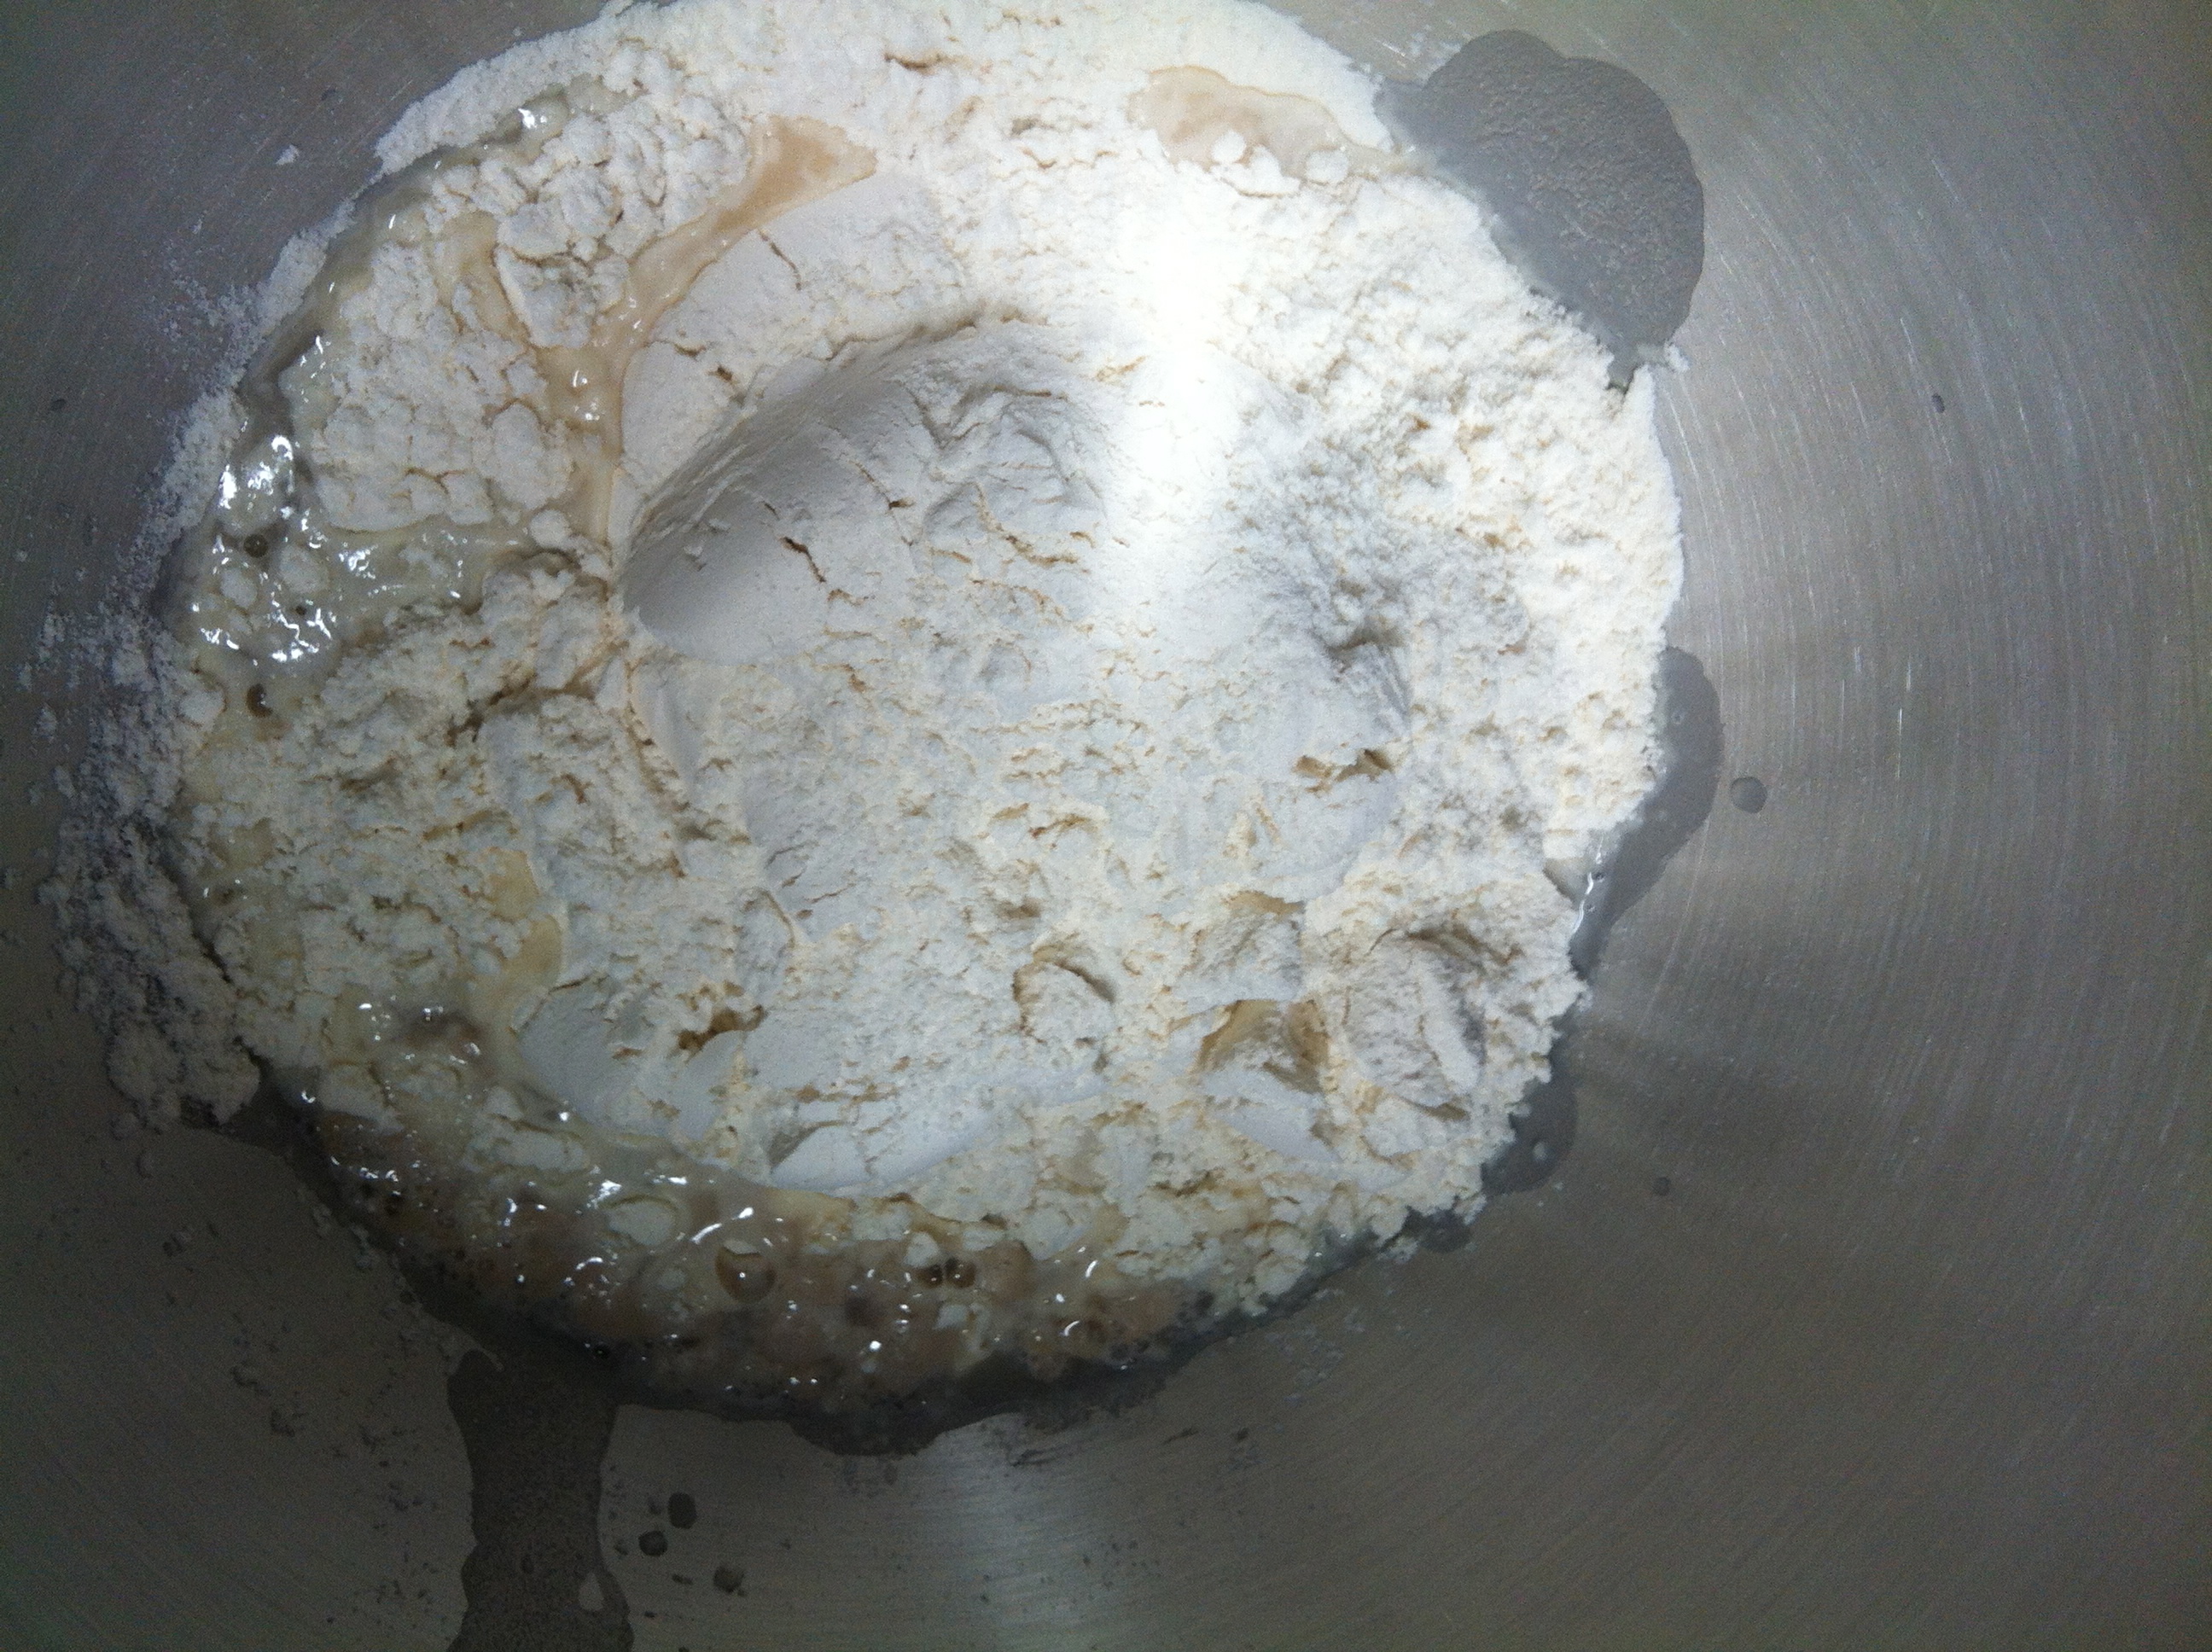
1. Dissolve the yeast in the water in the bowl of a stand mixer fitted with a dough hook. Leave it for a few minutes until it bubbles, then add in the flour.
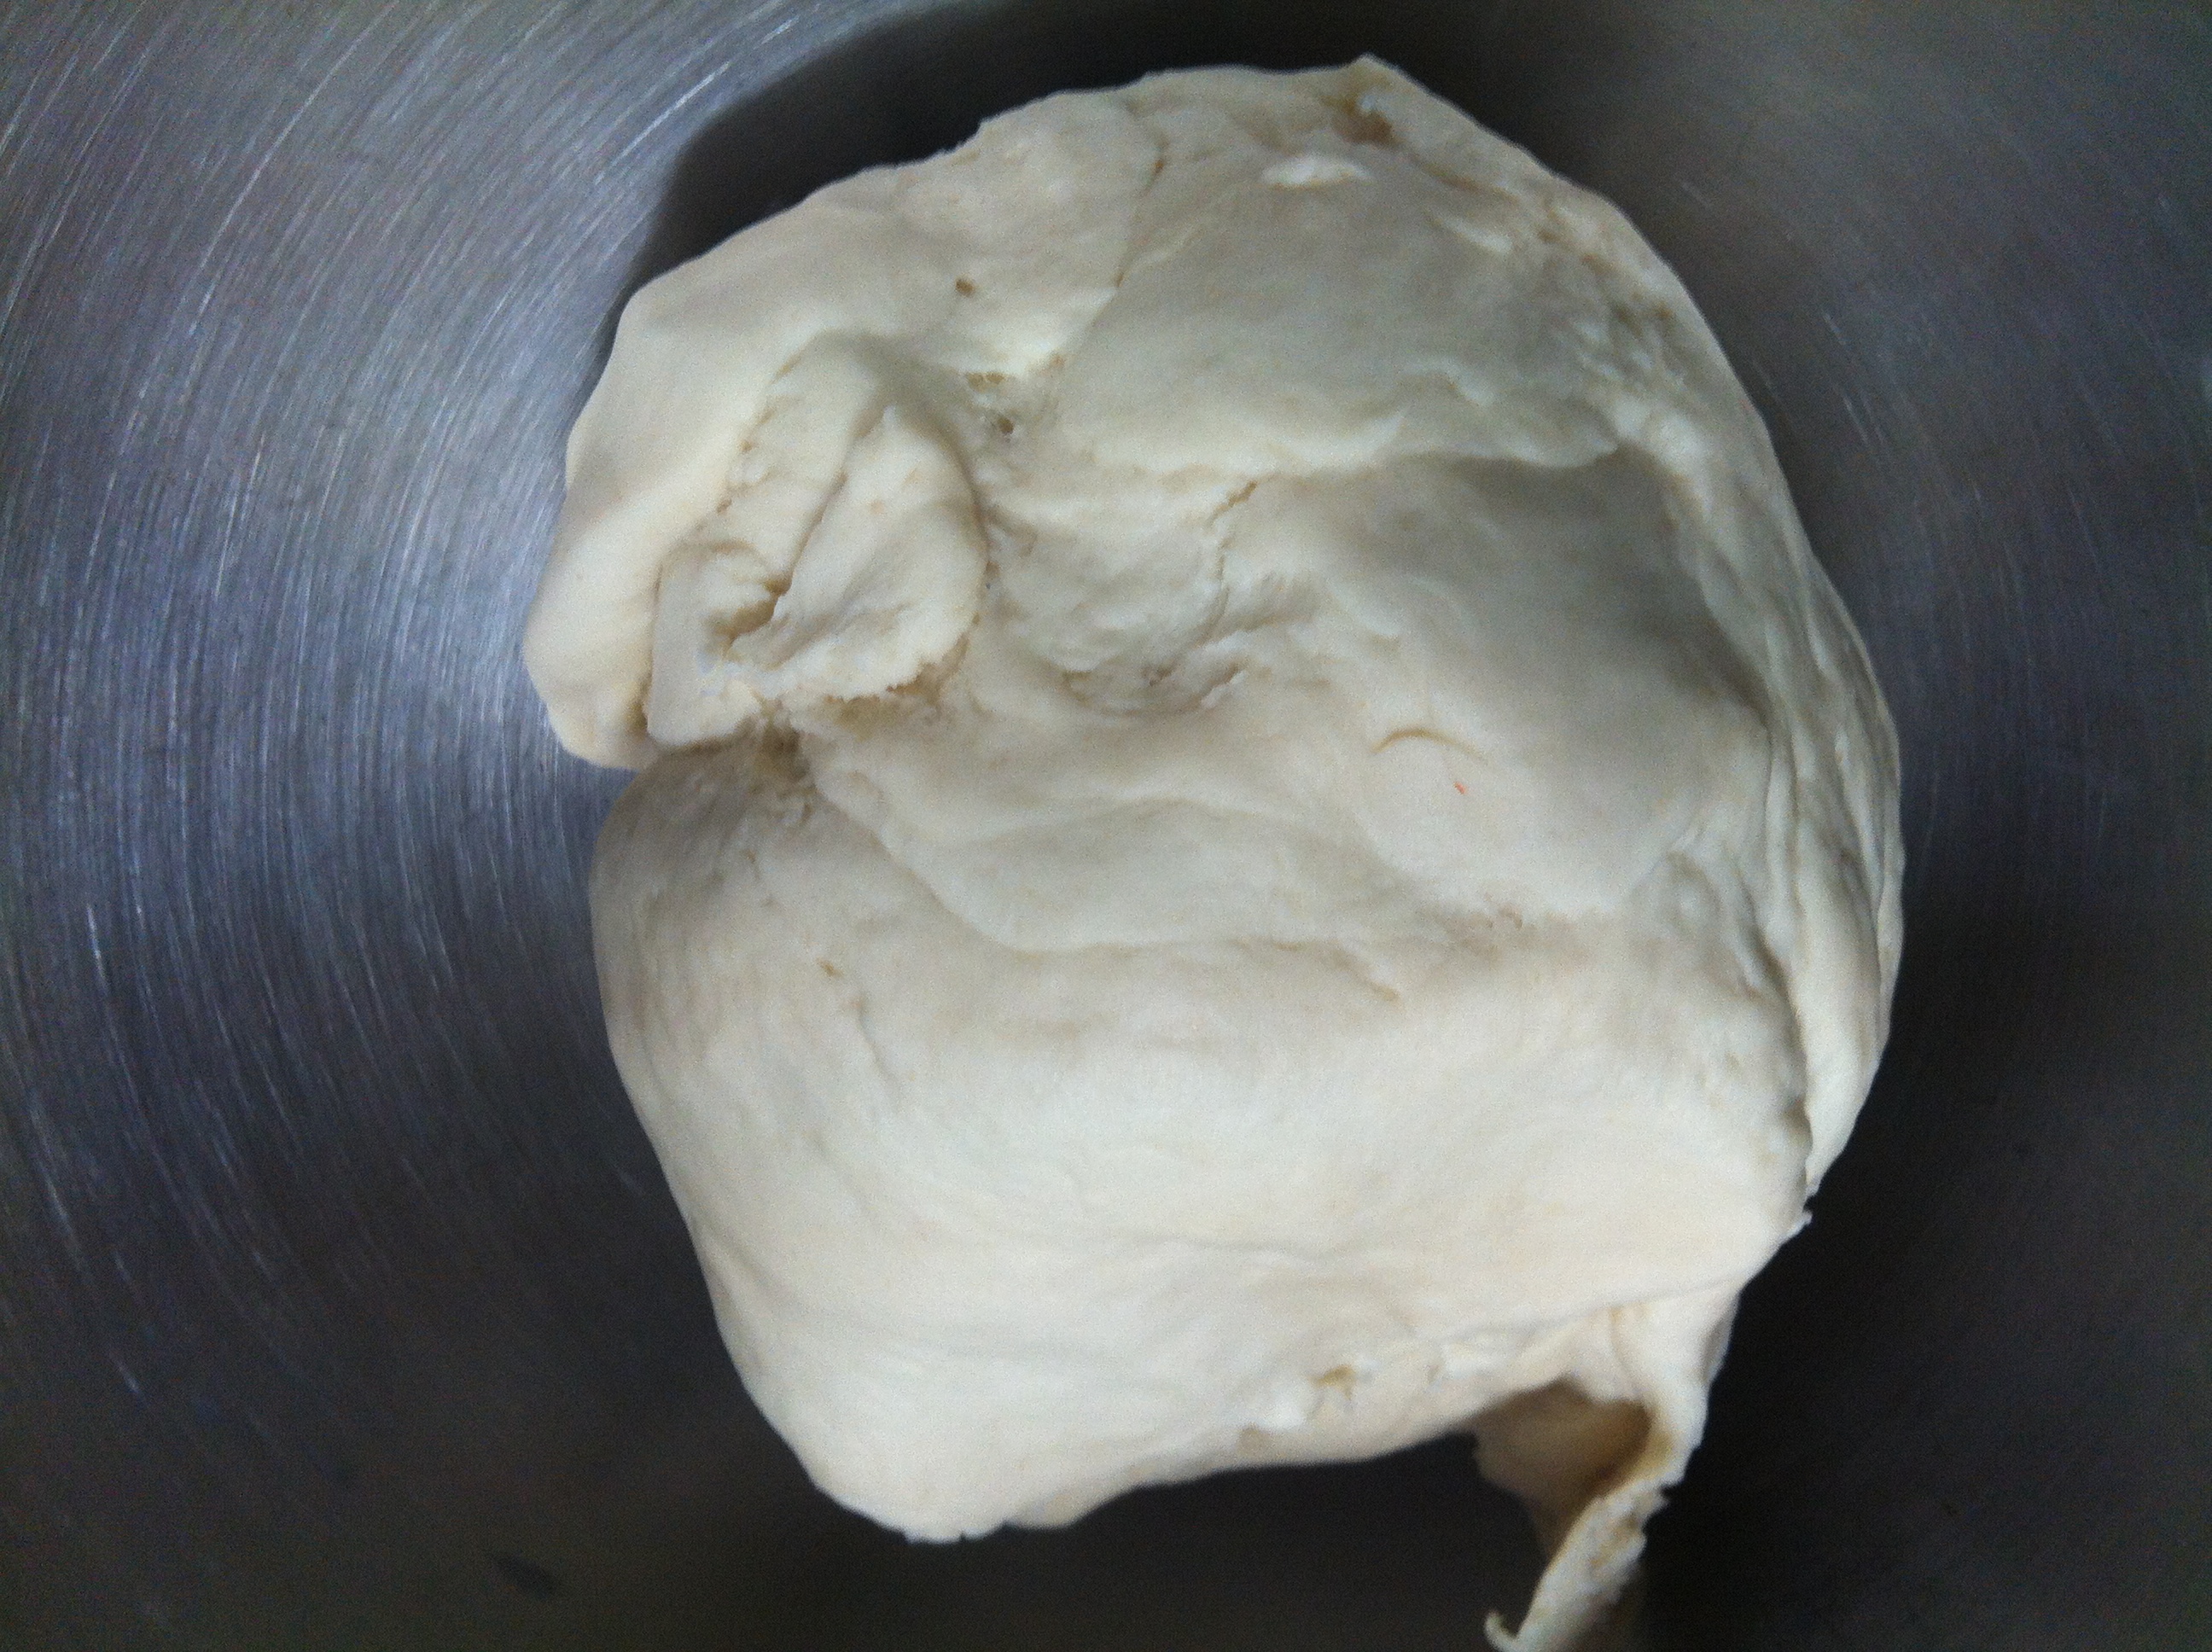
2. Start the mixer slowly to gently combine the ingredients until a rough dough forms. Then keep going until the dough comes together (about 3-5 minutes), and away from the sides of the bowl and feels smooth. If the dough is too dry you may need to add a little more water, or too wet and you’ll need to add a little more flour – just depends on the humidity of where you are.
3. Cover the mixing bowl with some gladwrap and leave in a warm place to rise for about an hour or so. Then refrigerate it for about half an hour (or you can leave it overnight and finish the remaining steps in the morning.
4. While your dough is rising on the bench and chilling in the fridge – go and do something else! Read a book, have a cup of tea or an afternoon nap 🙂
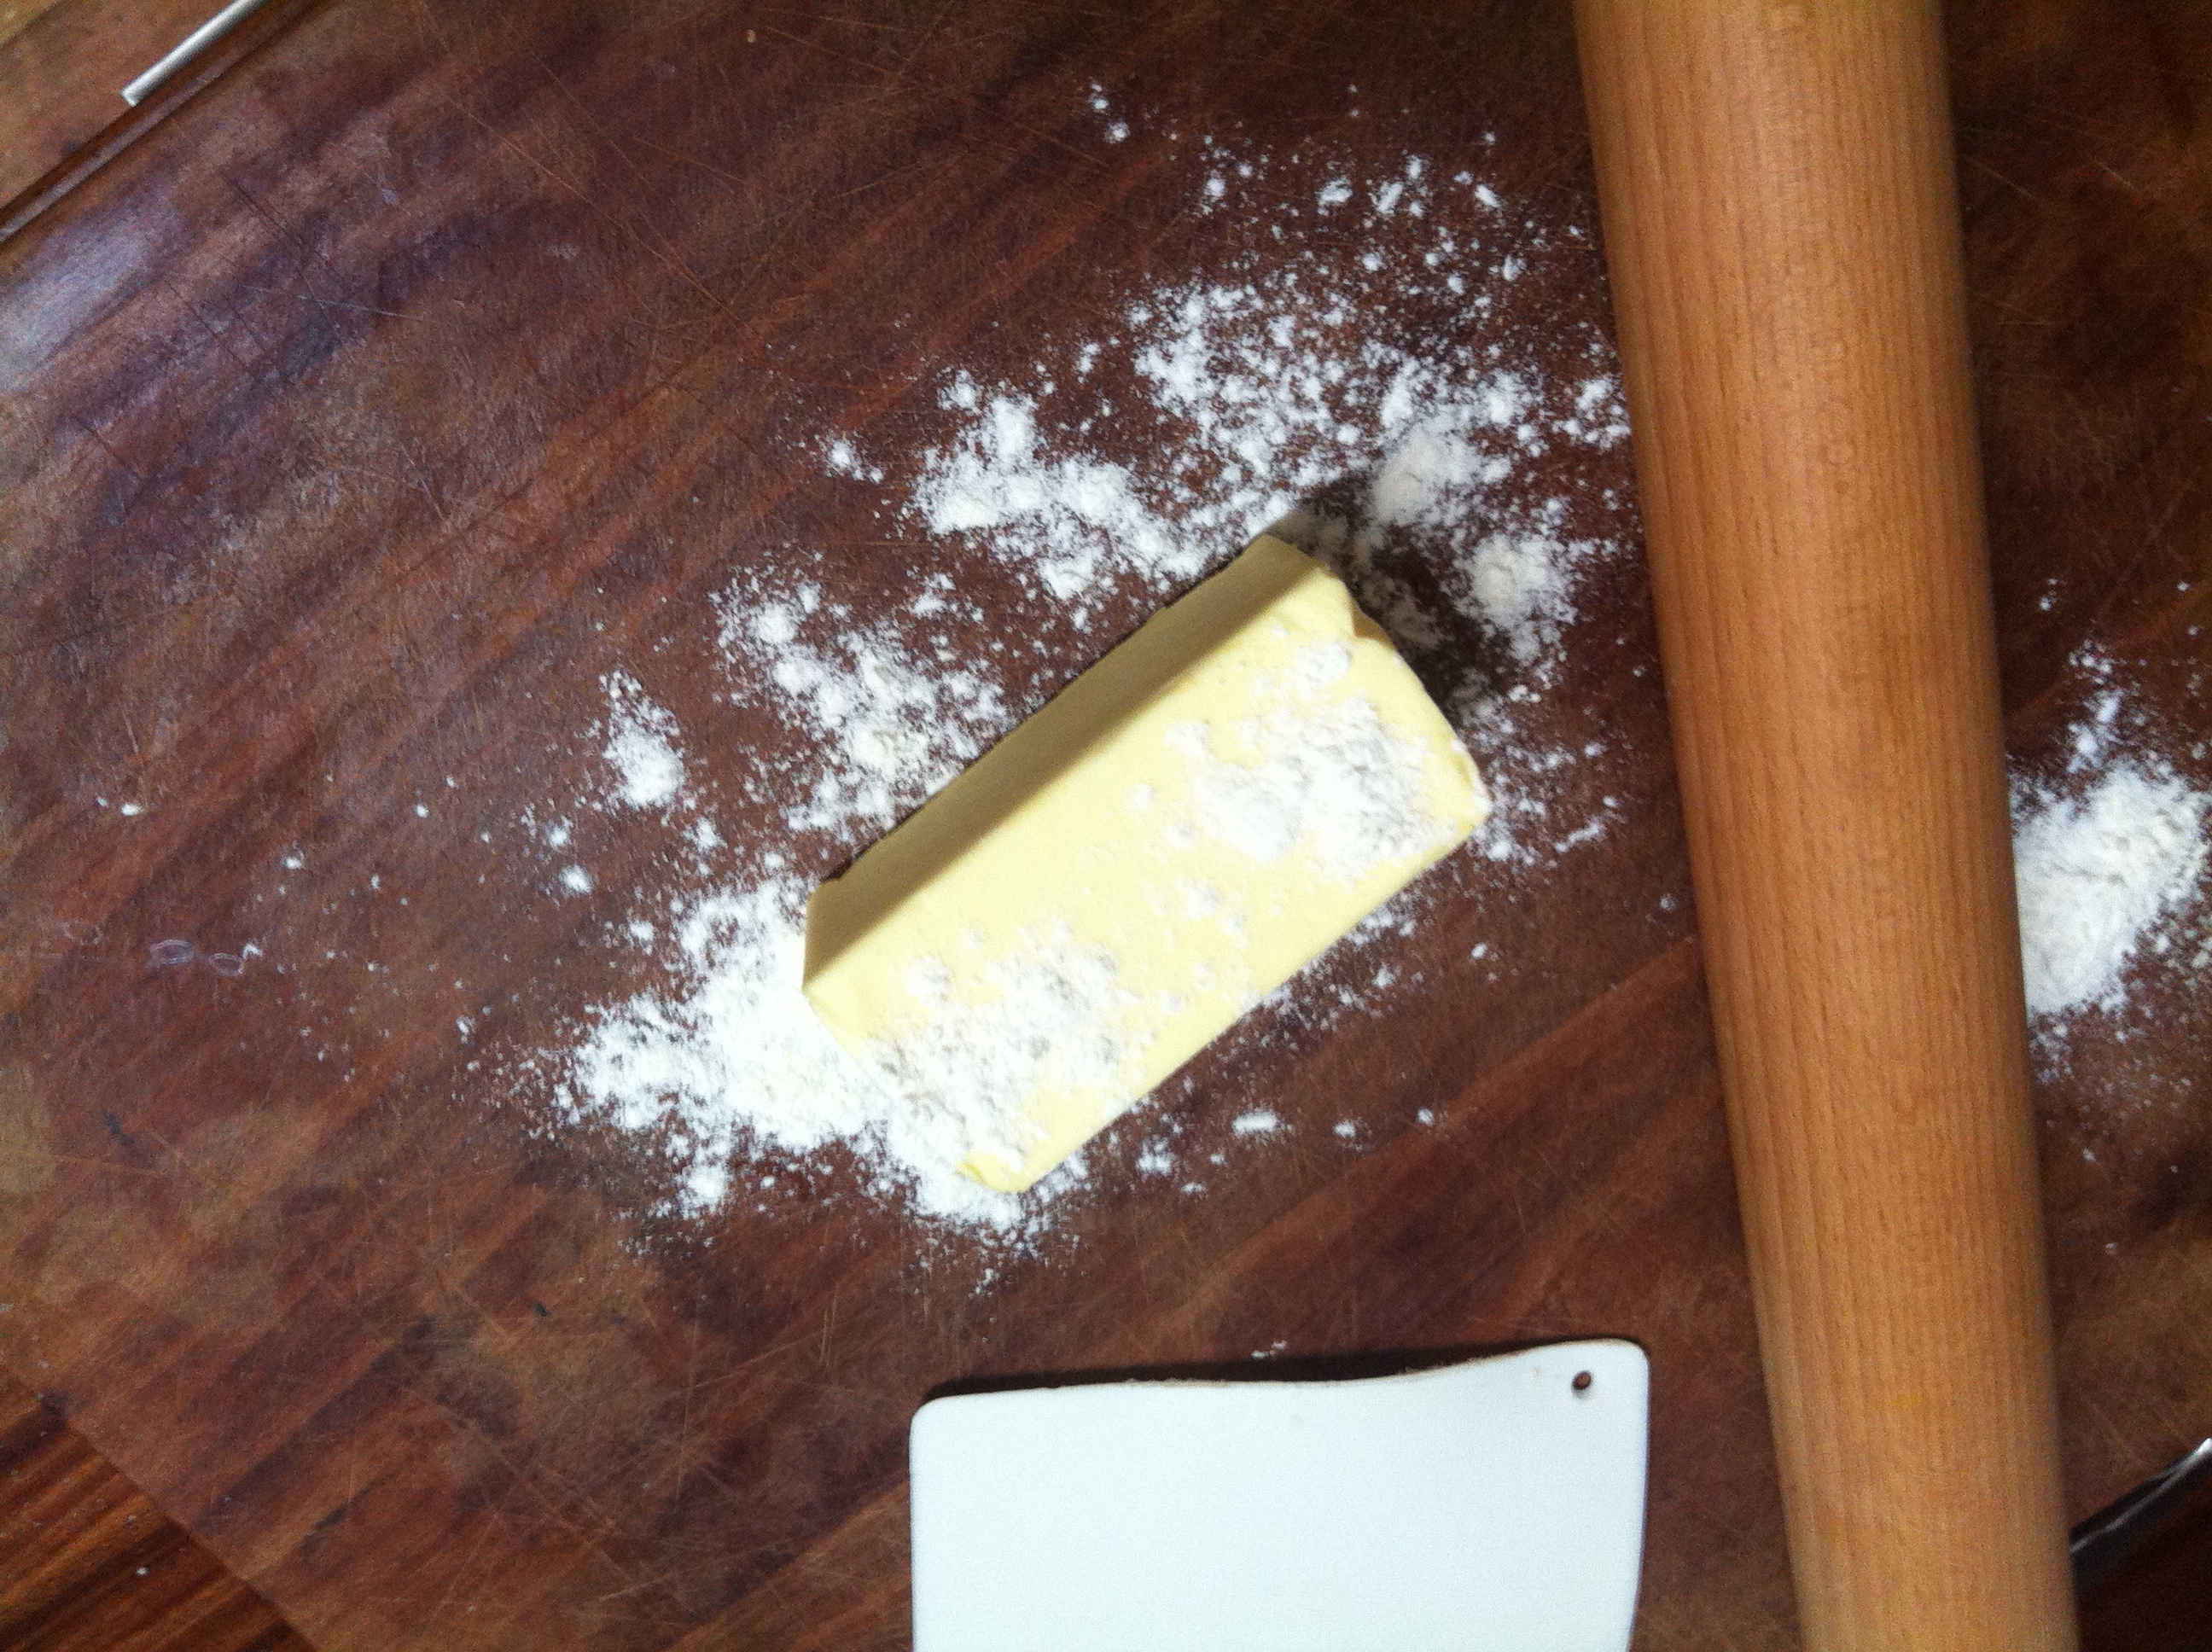
5. When you are ready to start rolling out your dough, get the 250g block of butter out of the fridge. Sprinkle some flour on your bench and put your butter on it. Then sprinkle some flour on top of the butter. Then get your rolling pin (the heavier the better!) and begin pounding your butter. Yep, just like it sounds. Grab your rolling pin by one end and give your butter a decent whack! with the other end, then do it again, and again…
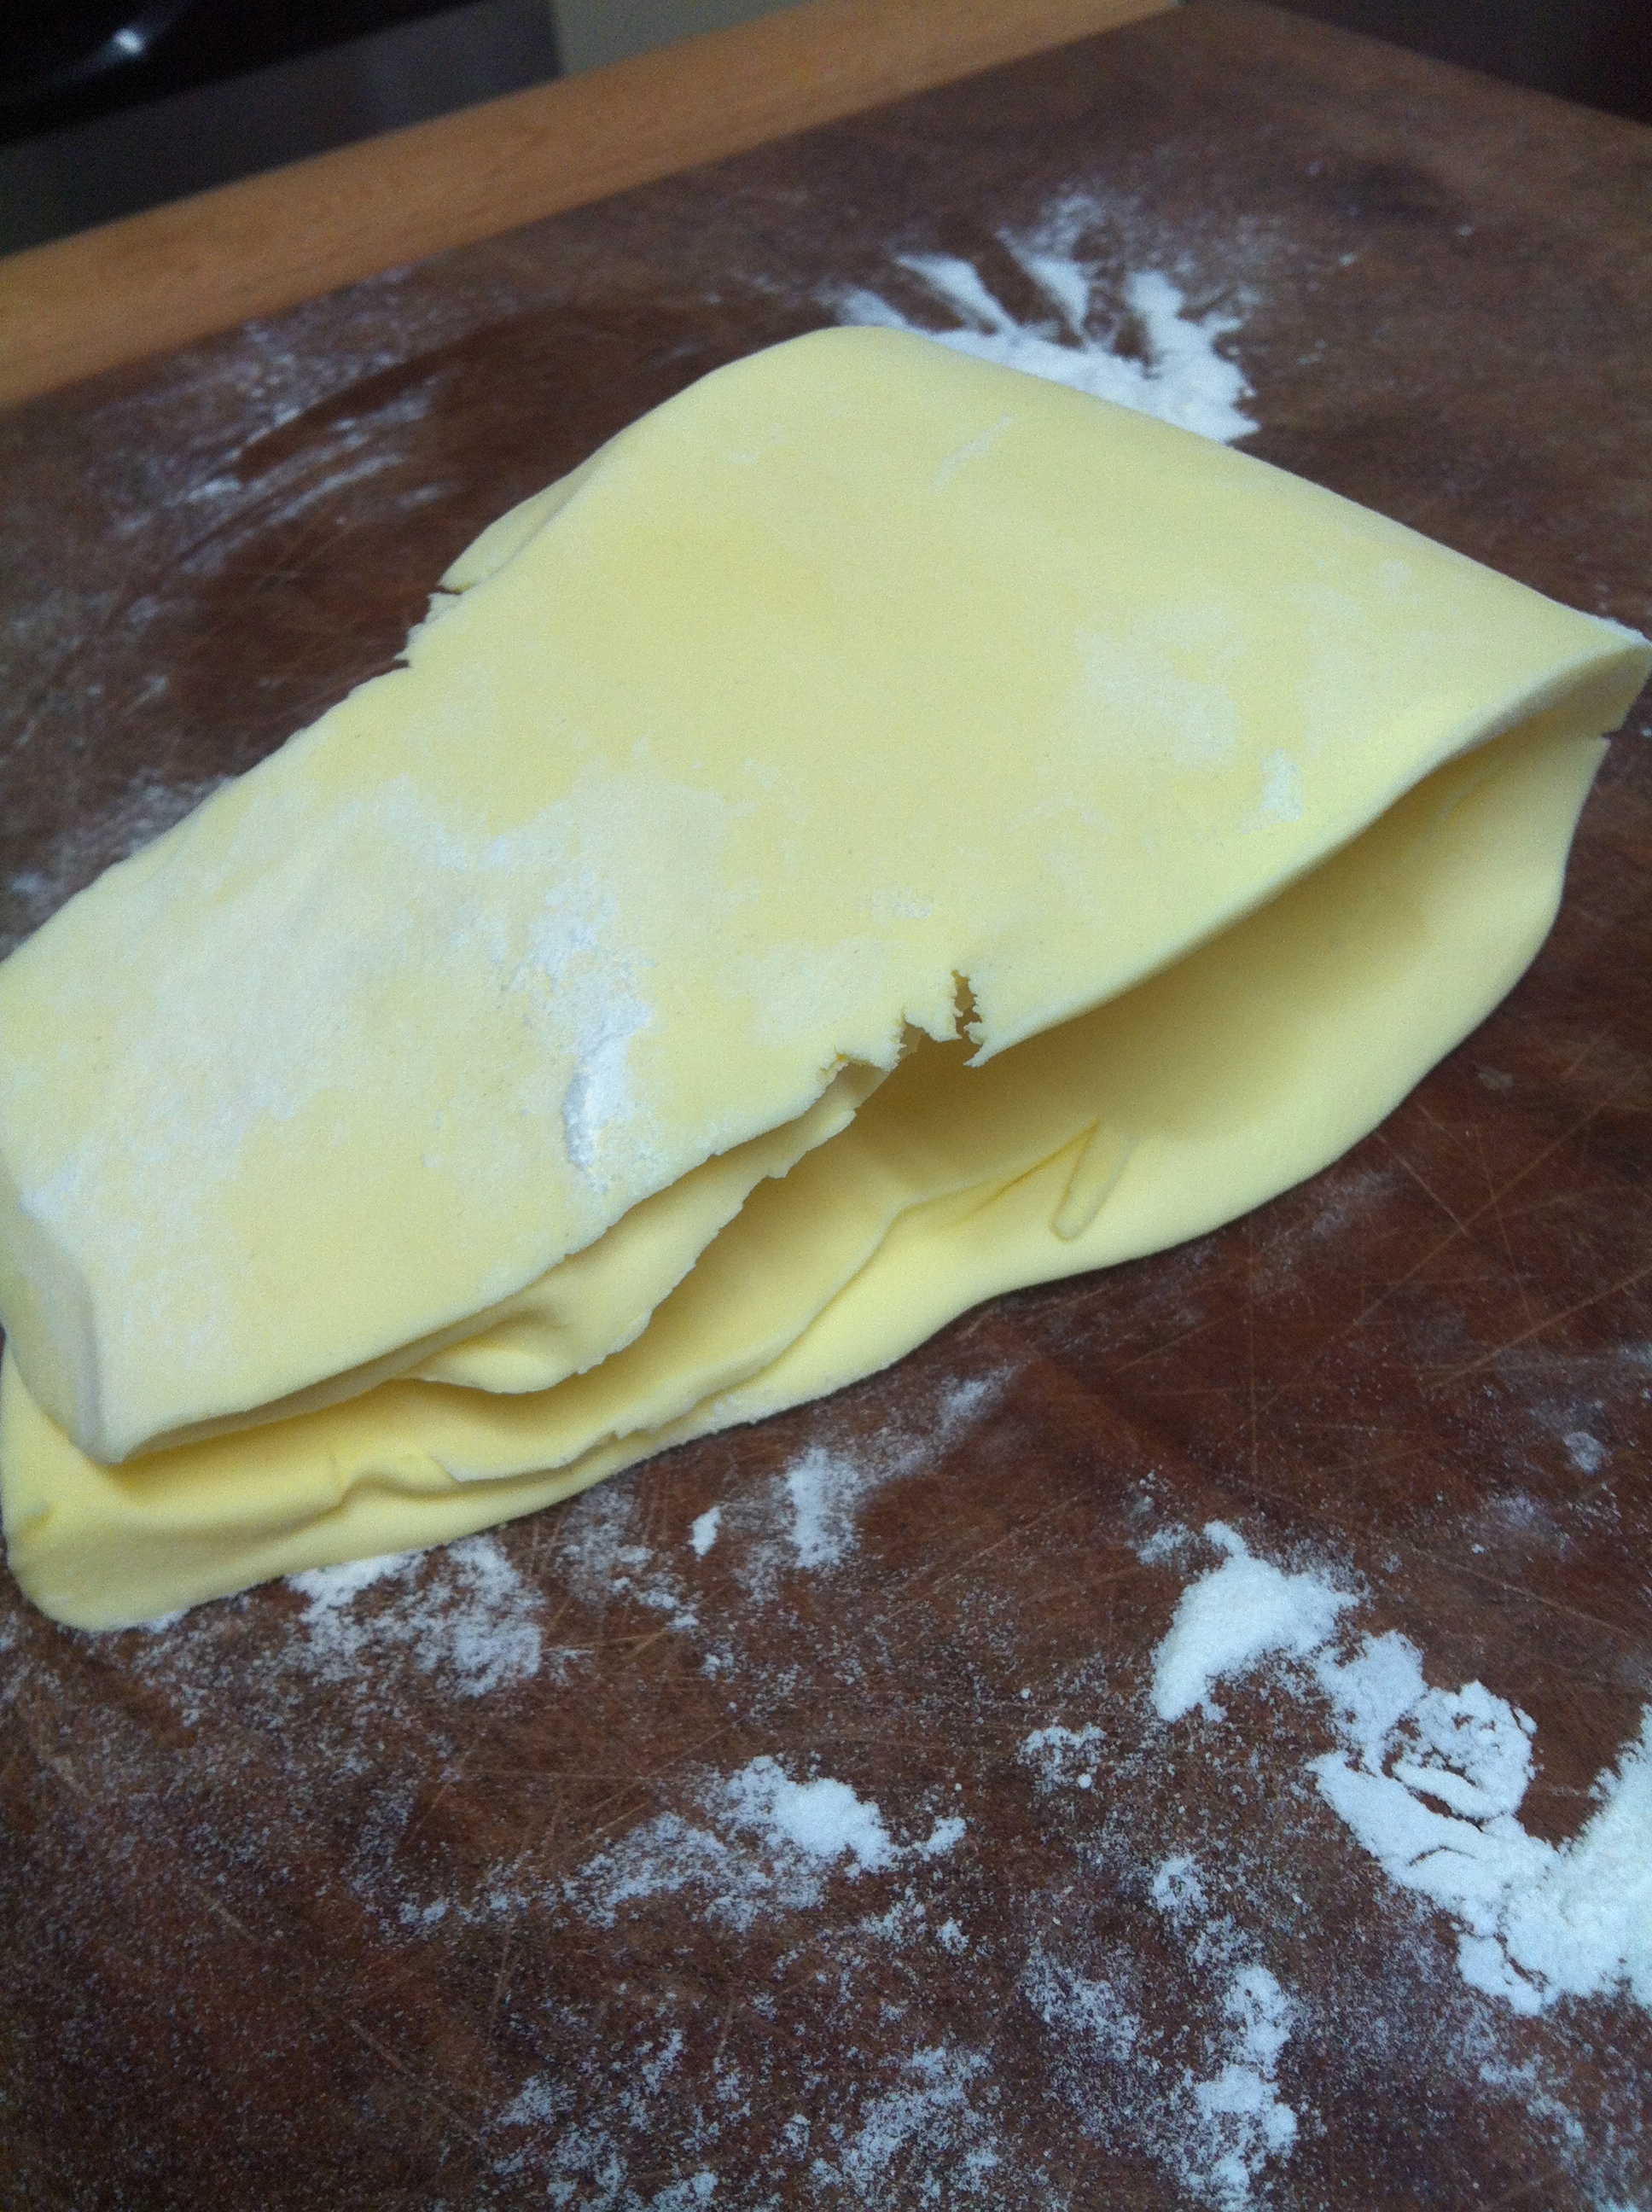
6. Keep going until your butter is flattened out. Then use a pastry scraper or spatula to scrape up one end and fold the butter over. Then pound again, and again, then scrape and fold again. Do this 2-3 times until the butter is soft and pliable, but not melting. Use your flour to keep the butter from sticking, and a pastry scraper or spatula to lift and fold – try not to touch it with your hands.
You want to pound the butter into a rectangular shape (about 6 inches by 10 inches).

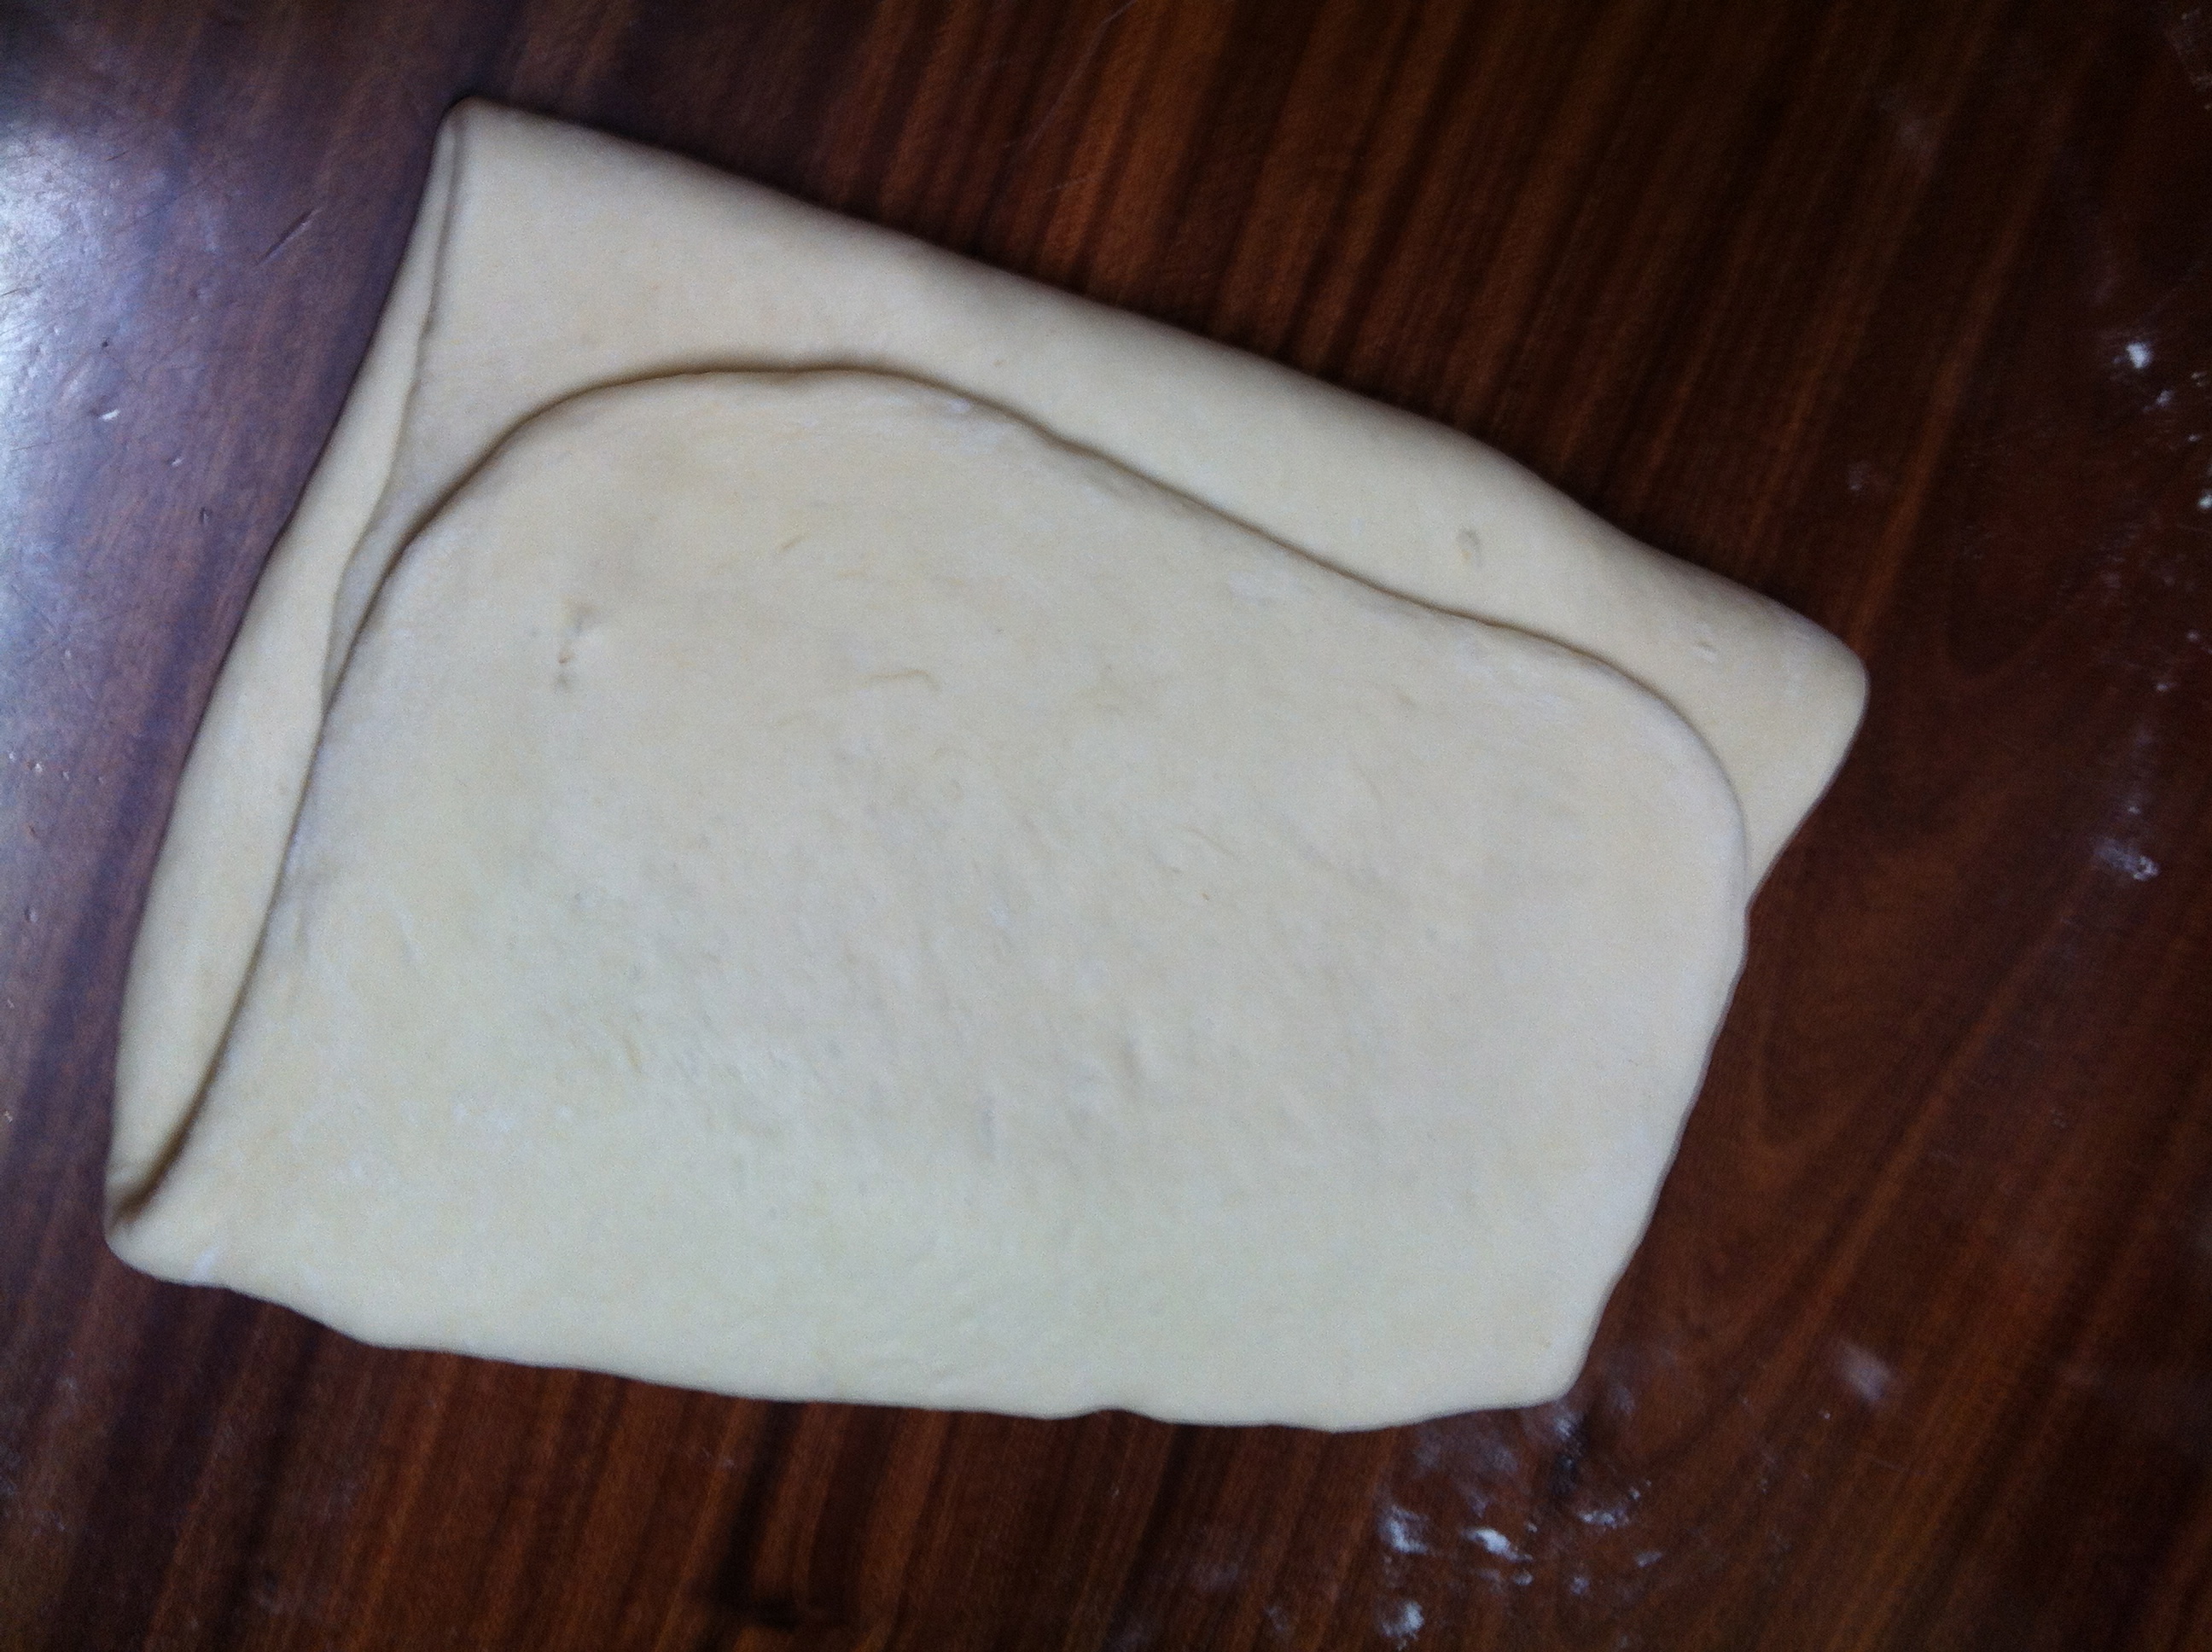
7. Now roll out your pastry into a rectangle shape – about 12 inches by 20 inches. Place your butter into the middle and ‘wrap’ the butter in the dough by folding the dough, left over right over the top of the butter. Roll it a little to press together and then fold the dough in thirds again.
8. TURN 1: Turn the dough so that the narrow, open end of the dough is facing you with the ‘long join; on the so you could open it like ready a book. Roll the dough out again into a rectangle about 12 x 20 inches. Fold the top third down and the bottom third up and press together to seal.

9. TURN 2: Turn to the dough clockwise again until the narrow open end of the dough is facing you again. Roll out again into a rectangle about 12 x 20 inches and fold the top third down and the bottom third up and press together to seal. Keep sprinkling your work space with flour as needed.
10. Put the dough in the fridge again for another half hour (to stop the butter from melting). If it gets squashy and melty it will melt into the dough rather than forming a layer in between.

11. TURN 3: Sprinkle your workbench with some sugar. Place your dough on the bench in front of you, narrow open end pointing towards you and long seam to the right hand side. Roll out your dough to a rectangle about 12 x 20 inches and then sprinkle it with about 3/4 of a cup of the sugar. You could use your rolling pin a little here to help the sugar stick. Fold the top third down and the bottom third up and press together to seal.
11. TURN 4: Turn clockwise again until the narrow open end points towards you and long seam is to the right hand side. Roll out your dough to a rectangle about 12 x 20 inches and then sprinkle it with about 3/4 of a cup of the sugar. Fold the top third down and the bottom third up and press together to seal.
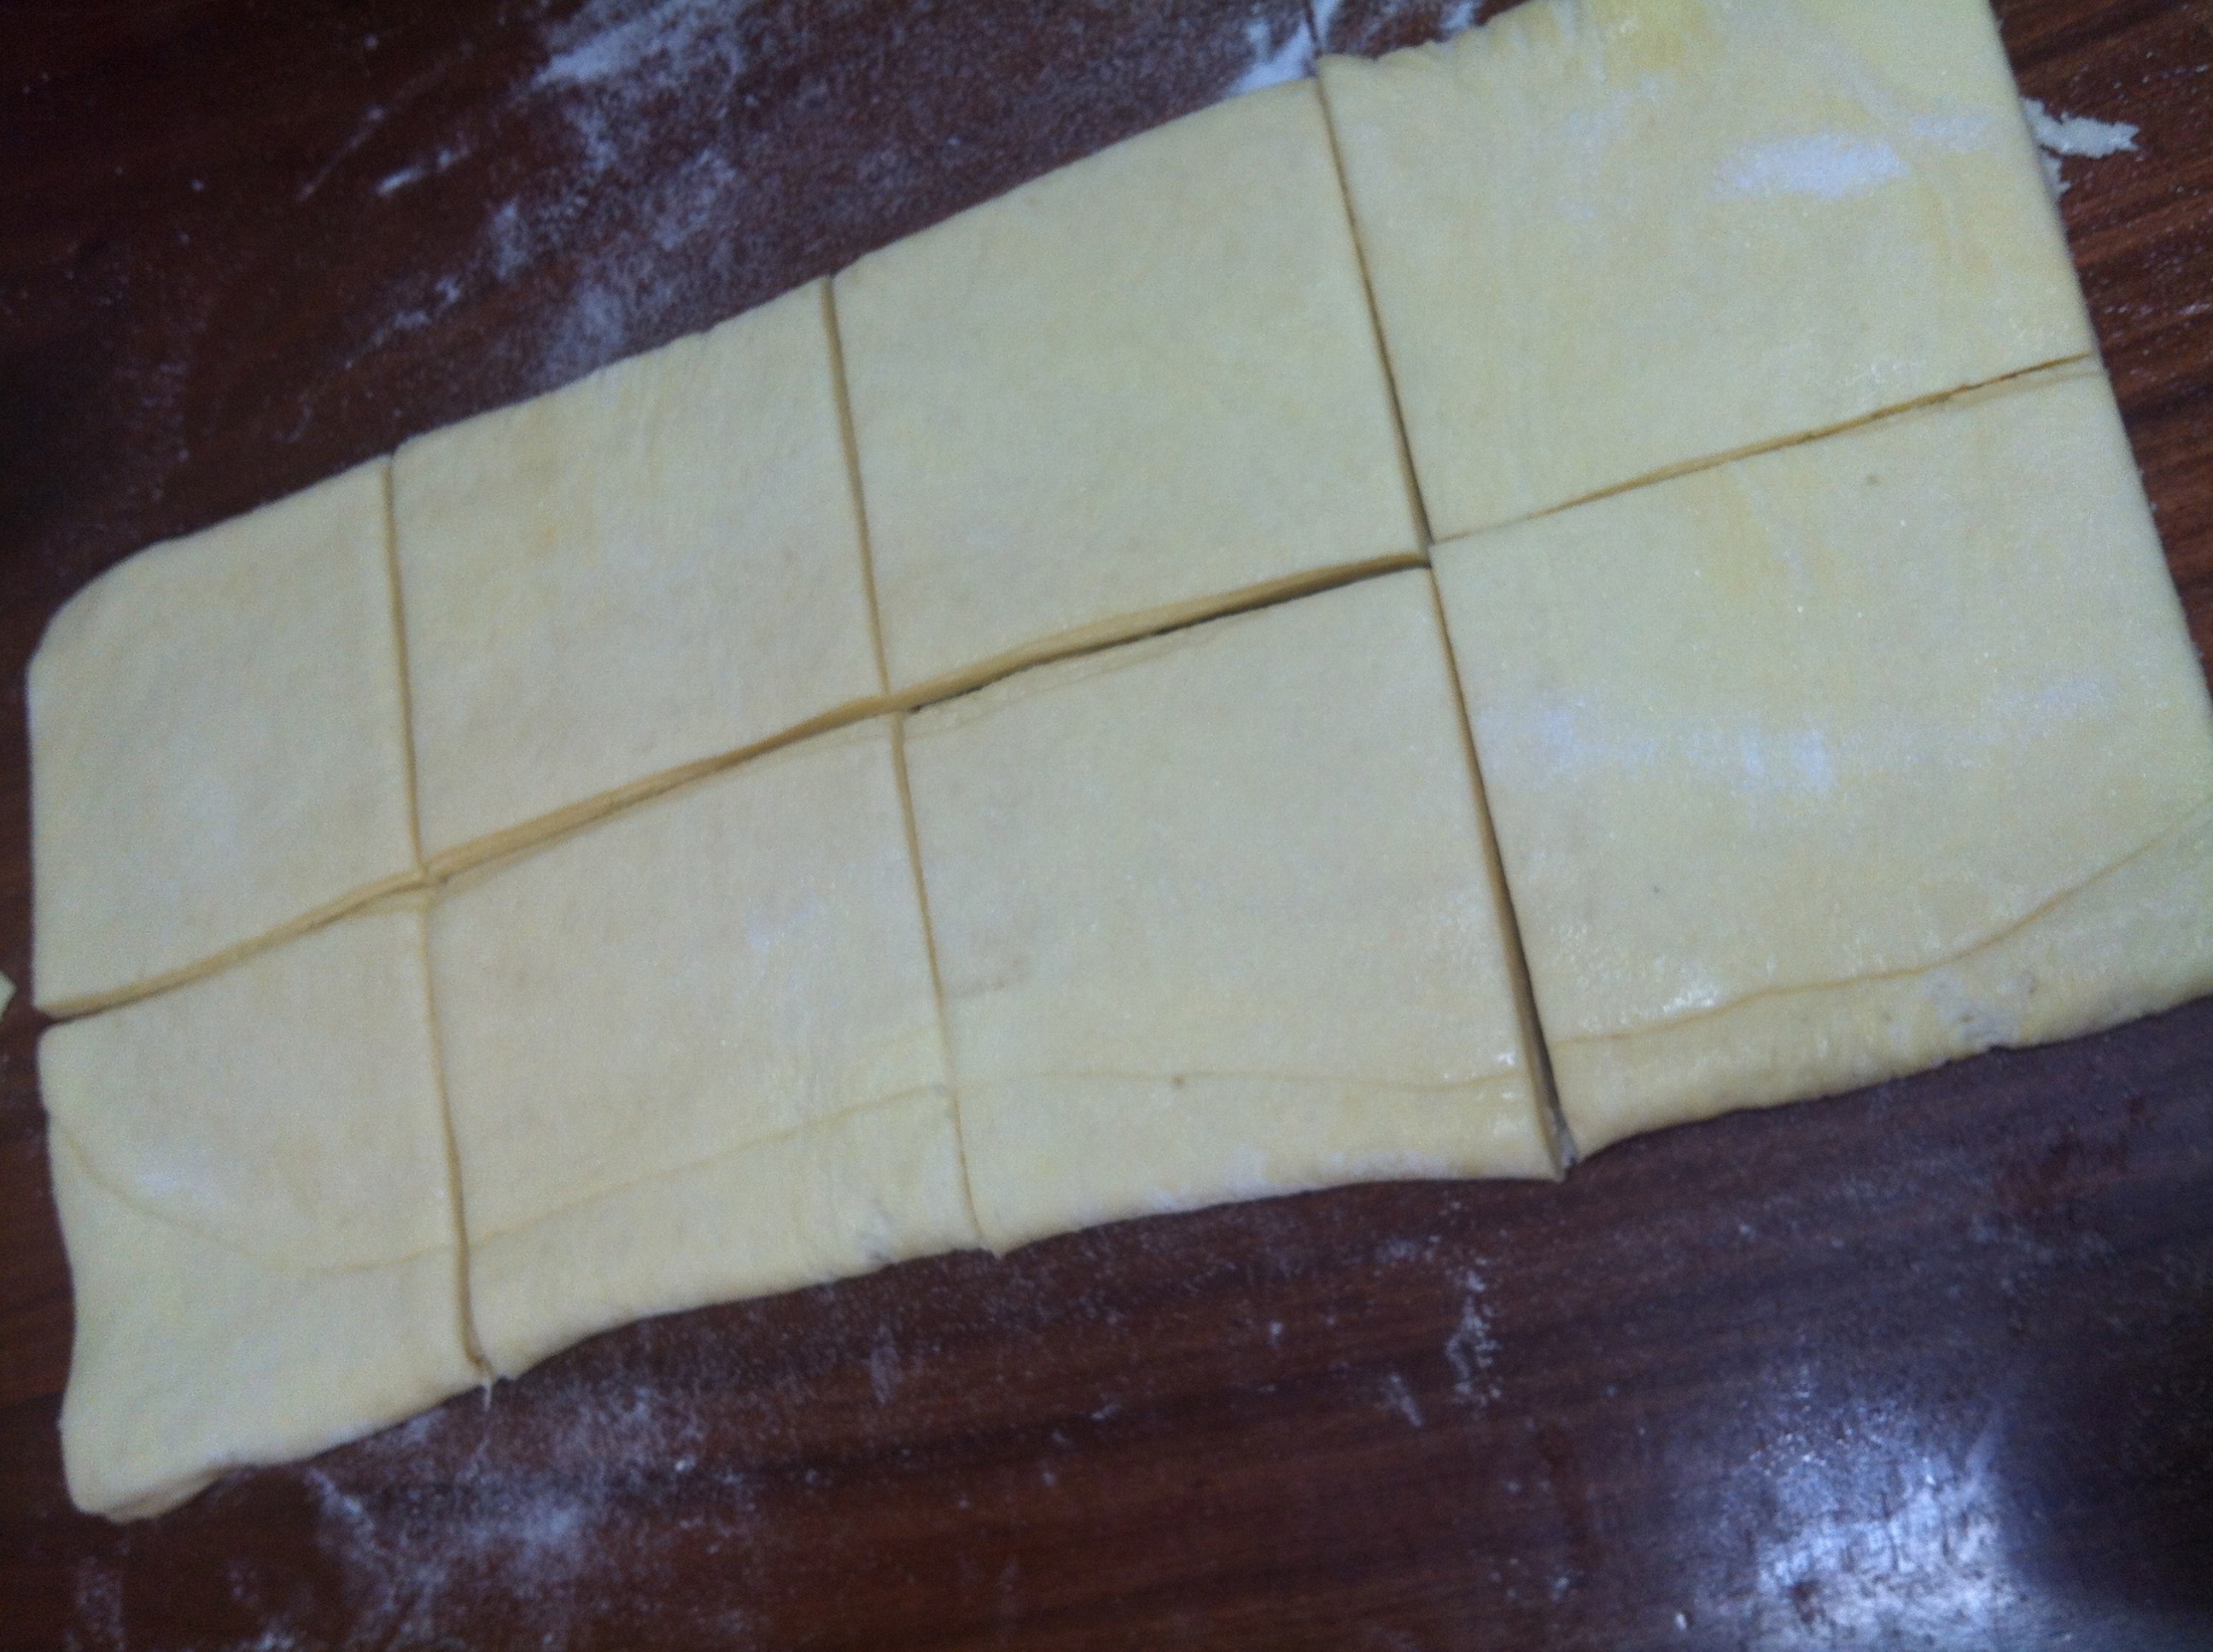
12. Refrigerate the dough again for 30 minutes to chill the butter and then return it to the work bench to roll out into a rectangle about 12 x 20 inches (for the last time!!). Cut the dough evenly long ways down the middle and then 6 cut short ways along the length so you have 12 squares approximately 4×4 inches (you’ll notice I have 8 – would you believe I work with numbers for my day job?)

13. Grease a muffin tin (or set of pastry rings) liberally with butter. Then take each square and fold each of the four corners into the centre and pinch together, then wedge into the muffin tray. When all 12 are in, preheat your oven to about 220 degrees celsius and leave the kouign amann to rise for about half an hour until they are bit puffy.

14. Bake for 40-45 minutes until golden and crispy. Let them cool in the tray for a few minutes and then remove from the tray. Don’t leave them to cool completely in the tray – they will stick and maybe never come out!
